Euro
(€)
- Euro (€)
- Bulgarian Lev (BGN )
- Czeck Koruna (CZK )
- Hungarian Forint (HUF )
- Polish Złoty (PLN )
- Swedish krona (SEK )
- Swiss Franc (CHF )
- Canadian Dollar (CAD )
- Mexican Peso (MXN )
- Norwegian Krone (NOK )
- Chinese Yuan (CNY )
- Indian Rupee (INR )
- Australian Dollar (AUD )
- New Zealand Dollar (NZD )
- Saudi Riyal (SAR )
- UAR Dirham (AED )
- US Dollars (USD )
- GB Pound (GBP )
- Danish Koruna (DKK )
- Romanian Leu (RON )
Categories
Categories
Categories
-
 CatalogTop All products in one place
-
Software Defined RadioPopular Explore Signals Beyond Limits
-
RFID/NFC Unlock Possibilities with RFID/NFC
-
Antennas Antennas for every signal need
-
Amplifiers Signal Boosters & LNAs
-
Radio Communication Radio Communication Essentials
-
Test & Measurement Unleash Precision. Reveal Signals.
-
FPGA DevelopmentNew Accelerate Ideas. Build Hardware.
Home/SDRstore.eu Blog | SDR, Electronics & Tech Guides/HackRF H4M Guides/HackRF H4M Custom Splash Screen Guide
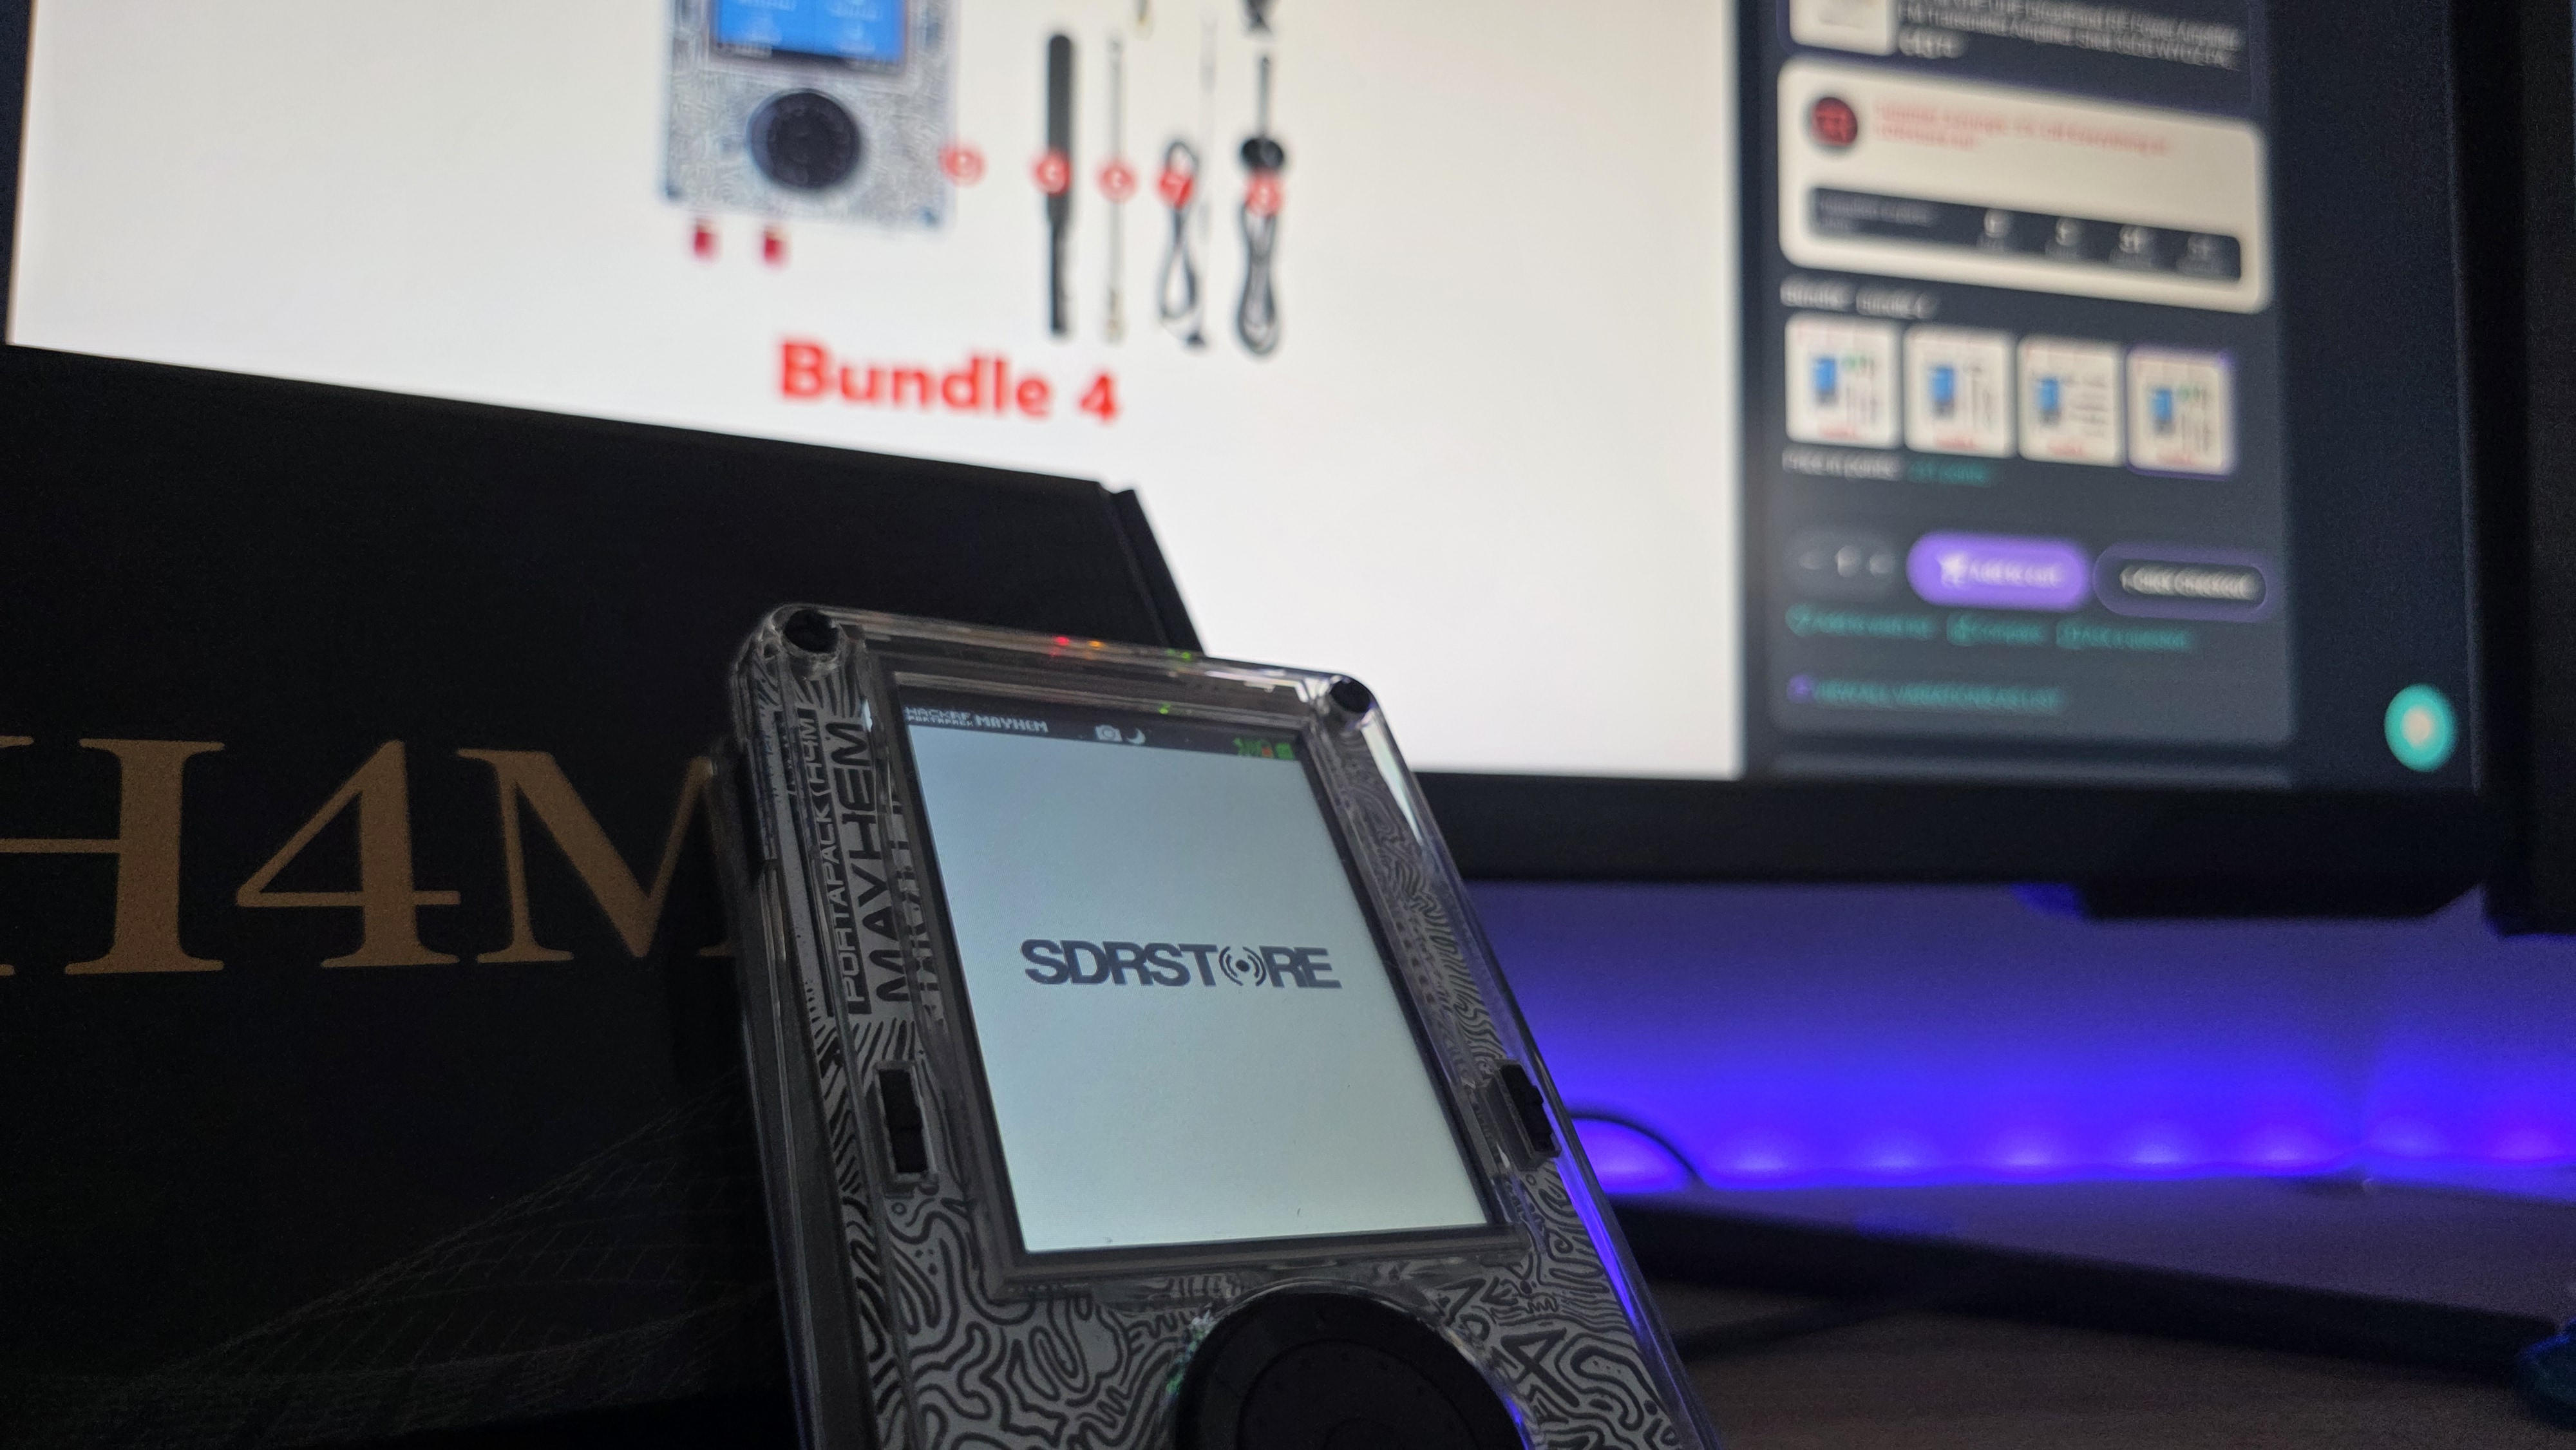
HackRF H4M Custom Splash Screen Guide
Prerequisites
- HackRF PortaPack H4M running Mayhem v1.7.4 or newer (v2.0.1+ for cloud upload)
- MicroSD card formatted FAT32 with Mayhem files
- Your 240 × 304 px, 24-bit BMP image named
splash.bmp - Optional tools: ImageMagick or any editor that exports 24-bit BMP
Create the Correct BMP
- Open your image editor and resize or crop to 240×304 px.
- Export as 24-bit BMP and name it
splash.bmp. - CLI alternative (ImageMagick):
magick source.jpg -resize 240x304 -gravity center -extent 240x304 splash.bmp
Copy splash.bmp to the SD Card
- Insert the SD card into your computer or Android phone.
- Place
splash.bmpin the root directory (or/SPLASHfolder if you prefer tidiness). - Safely eject or unmount the card.
Enable & Activate the Splash Screen
- Power on the H4M and open Settings → User Interface → Splash Screen → Show (toggle on).
- Go to Utilities → File Manager and navigate to the location of
splash.bmp. - Highlight the file and hold the Right ▶ button to set it as the active splash.
- Power-cycle the device to confirm your new boot logo appears.
Cloud Upload Alternative (Mayhem Hub)
- Put the H4M in normal mode and connect USB to your PC.
- Open hackrf.app and select SPLASH in the sidebar.
- Drag-and-drop
splash.bmp; the hub saves it to the correct folder automatically. - Reboot and verify.
Troubleshooting
- No image at boot? Verify “Show Splash” is enabled and the file is exactly 24-bit 240×304 px.
- Gray bars or cropping: double-check resolution; do not exceed 304 px height.
- Still seeing the old logo: set the new BMP again in File Manager and reboot.
Need SD-Card or Firmware Help?
See our full setup walk-through here: HackRF H4M SD-Card & Firmware Guide.
Comments
No posts found
Write a review
My account
Orders and Delivery
Customer Service
Payment Options
We support all major card and digital payment options. More local methods are available and shown during checkout.
You enter into a binding sales contract once you have received an 'order confirmation and sales receipt' email from us, in line with our Sales & Delivery conditions. Therefore, sdrstore.eu has the right to cancel your order in the event of technical problems, delivery failure, Fair use policy and other similar situations.
Delivery carriers
Secure Shopping
Your payments are protected by advanced encryption and 3-D Secure authentication for safe online shopping.
© 2023 - 2025 SDRstore.