+3197010267156
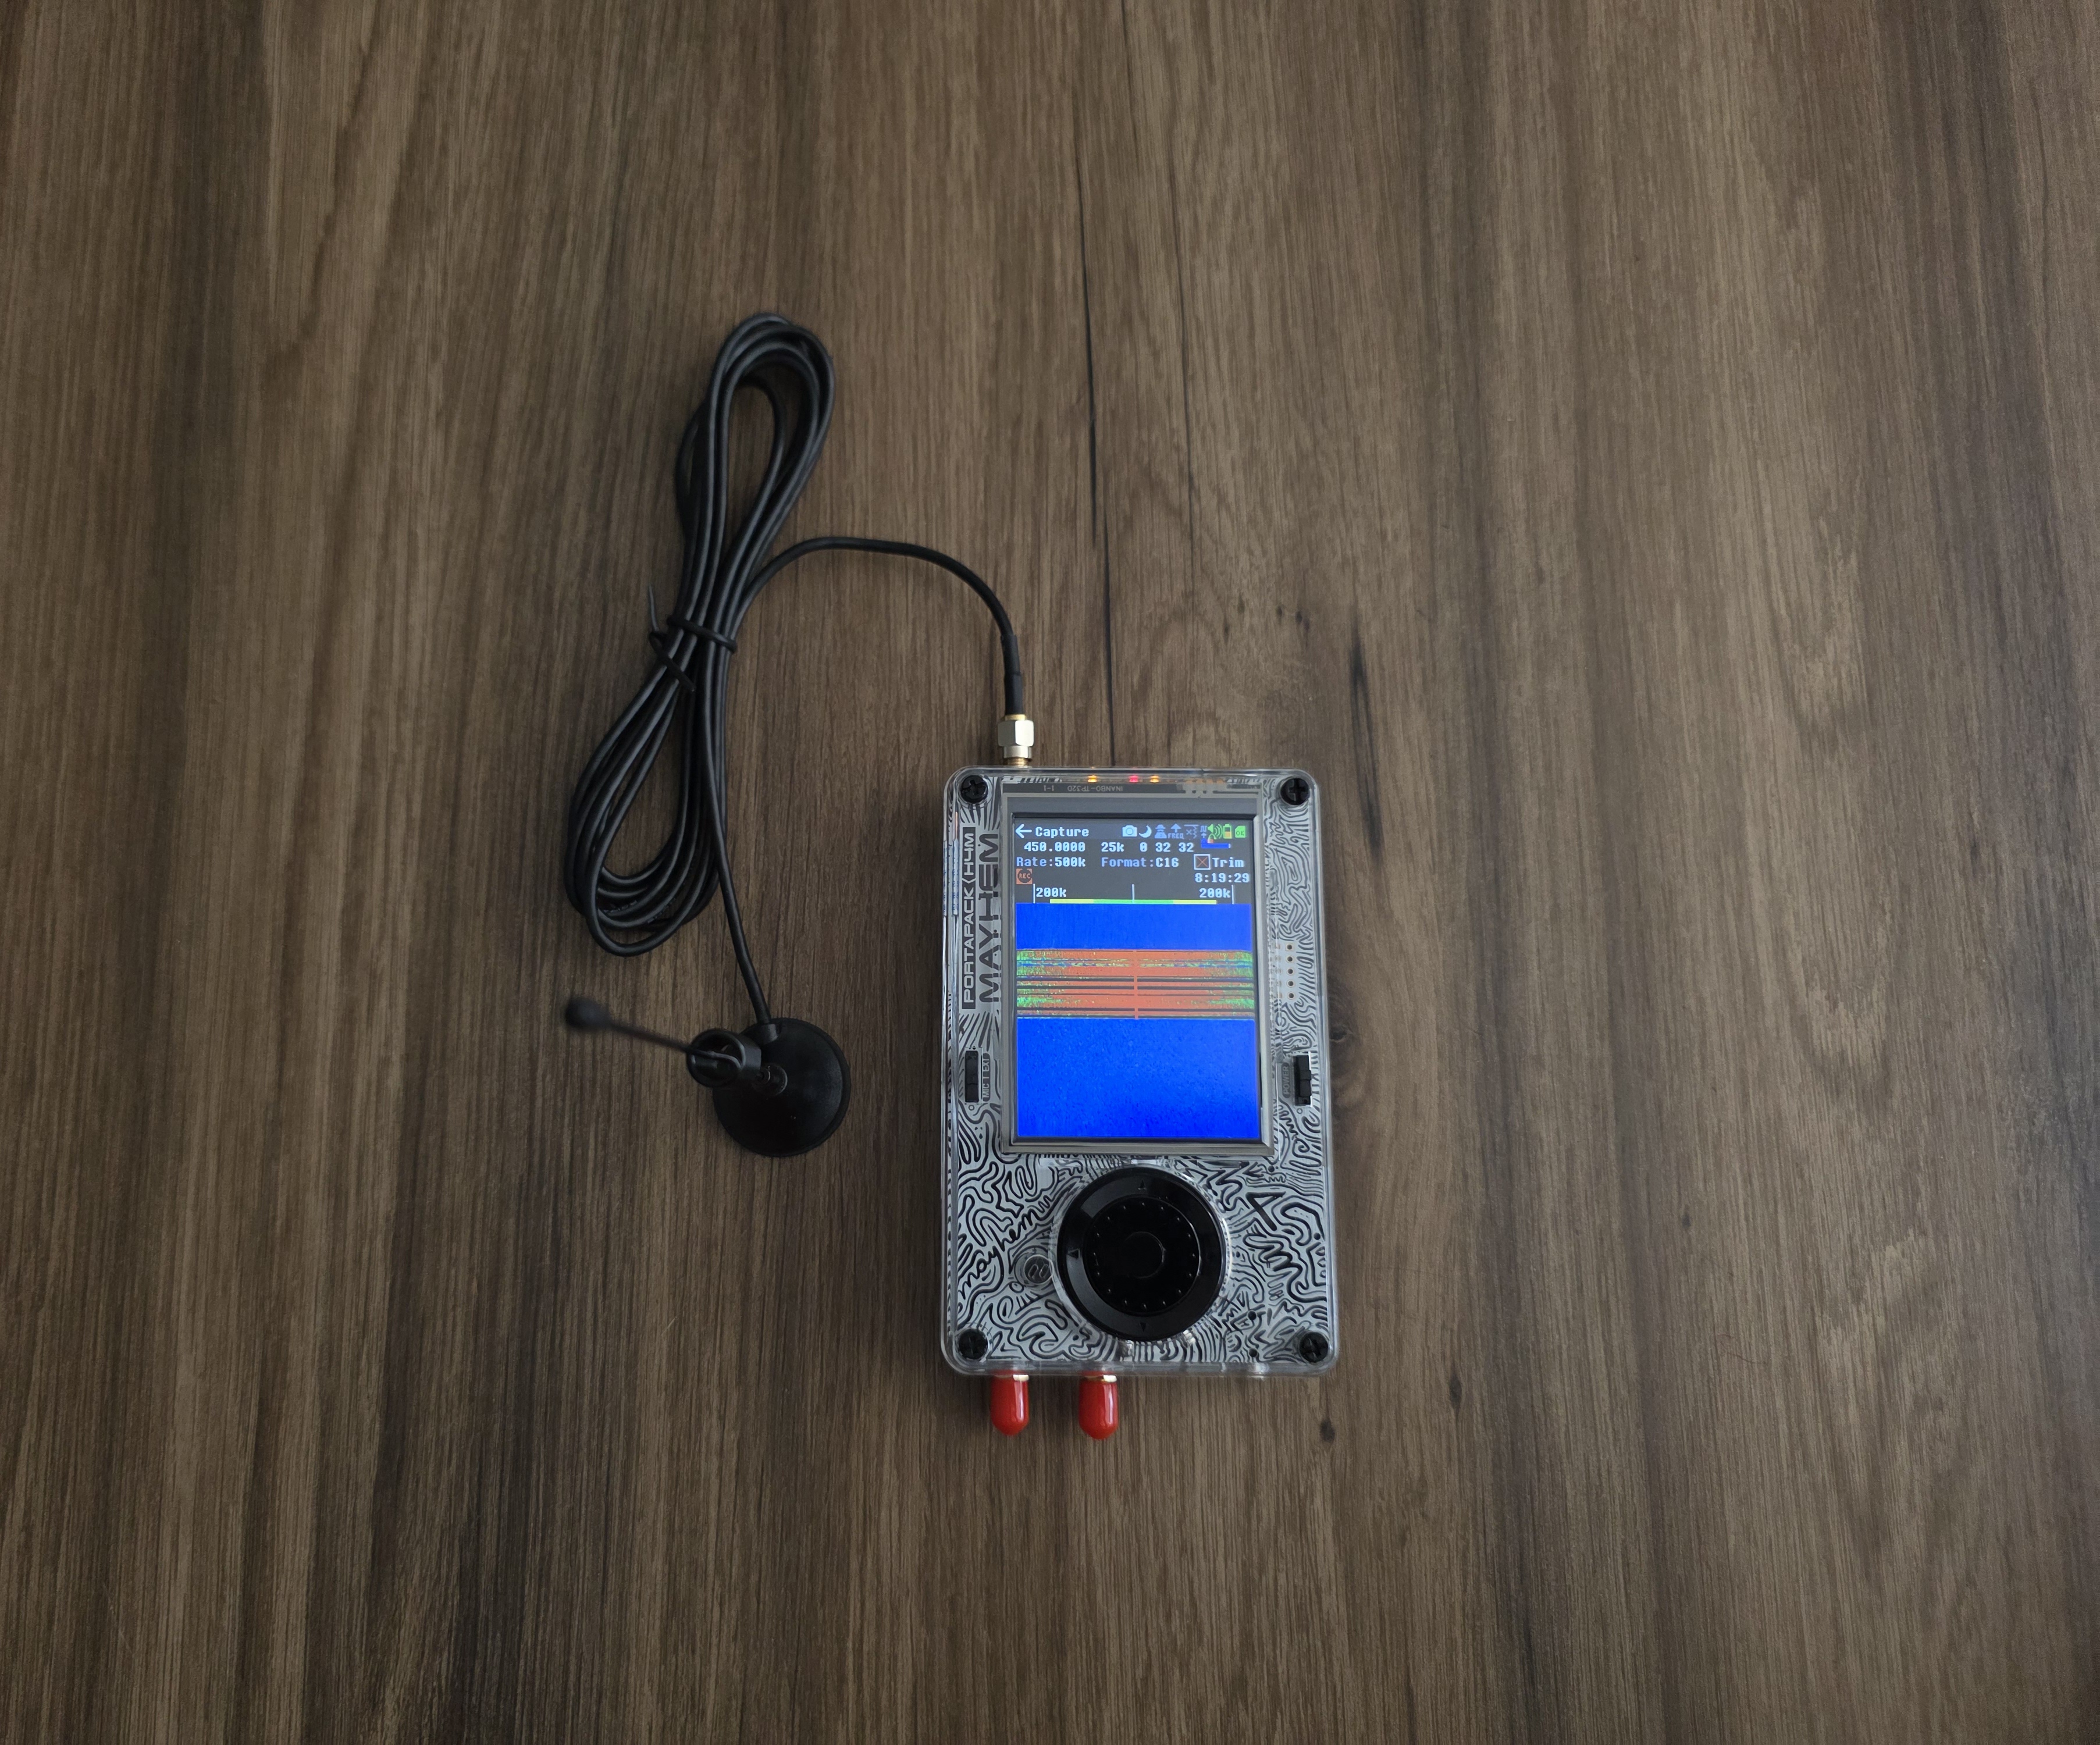
Capturing and Replaying RF Signals with HackRF H4M
Prerequisites
- HackRF PortaPack H4M with current Mayhem firmware
- MicroSD card (FAT32) with free space for IQ recordings
- An antenna matched to the target band
- Local, lawful test signals (e.g., simple OOK/ASK remotes, sensors, or a test RF source)
Understand the Capture/Replay Workflow
- Capture: Records an IQ file (.wav or .bin) at a chosen sample rate and frequency.
- Replay: Transmits the saved IQ file back at the original center frequency, matched sample rate, and controlled TX gain.
- Keep recordings short and centered on the signal to improve replay fidelity.
Step 1: Access the Capture Menu
- From the main menu, navigate to Capture.
- This is where you can configure your recording settings.
Step 2: Configure Capture Parameters
- Center Frequency: Set exactly to the target carrier frequency (e.g., 433.92 MHz for many ISM remotes).
- Sample Rate: Choose the smallest rate that fully contains the signal’s bandwidth. Start with 2 Msps for narrowband bursts; increase only if needed.
- Gain: Adjust LNA/VGA gain until the signal clearly stands above the noise without clipping.
- File Name/Location: Use a unique, short filename (avoid spaces) and ensure there is enough free space on the SD card.
Step 3: Start Recording
- Press the Rec button to begin recording.
- Trigger the source signal (e.g., press the remote button) while the recorder is active.
- Stop recording immediately after the burst to keep the file tight and easier to replay.
Step 4: Verify the Recording
- Re-open the Capture app and quickly re-tune around the capture frequency to confirm the original signal characteristics.
- Optionally, some builds allow quick playback monitoring (RX-side) to confirm non-empty content.
Step 5: Access the Replay Menu
- Go to the Replay app.
- Select the recorded file from the SD card list; confirm filename and size look correct.
- Ensure the device is set to the same frequency as the capture center frequency.
Step 6: Configure Replay Settings
- Sample Rate: Match the original capture sample rate exactly to preserve timing.
- TX Gain: Start low (e.g., 0–8 dB) and increase gradually while observing the target’s response.
- Loop: Keep off for initial tests; enable only if the target needs repeated frames.
- DC Offset / IQ Balance (if available): Leave default unless you have evidence of mirror/offset issues.
Step 7: Transmit and Test Responsibly
- Ensure legal compliance and that the frequency is allowed for your test scenario.
- Press Play/Transmit to send the IQ recording.
- Evaluate the target’s reaction. If no effect, adjust TX gain slightly or re-check frequency alignment.
When Replays Fail
- Wrong Center Frequency: Re-check the exact carrier; even small offsets can break narrowband devices.
- Clipped Capture: If the original was clipped, try capturing at lower RX gain.
- Undersampled: Use a higher capture sample rate if the signal bandwidth was larger than expected.
- Rolling Codes: Many modern remotes use rolling codes; a single capture may not work again. Start with simpler targets.
Pro Tips for Reliable Results
- Keep captures short and start just before the expected burst; end right after to minimize noise.
- Log the frequency, sample rate, gains, environment, and timing for each capture.
- For very weak signals, add a band-pass filter and moderate LNA to increase SNR without saturating.
- Use antennas tuned for the band; wideband antennas are convenient but not always optimal.
Safety & Legal Notice
- Only replay signals in controlled, lawful environments and on permitted frequencies.
- Prefer shielded or low-power setups for bench validation.
Enhance Your Setup & Purchase
For reliable multi-band field work, consider our HackRF H4M bundles.
Get your H4M today!
Comments
No posts found
Write a reviewWe support all major card and digital payment options. More local methods are available and shown during checkout.
You enter into a binding sales contract once you have received an 'order confirmation and sales receipt' email from us, in line with our Sales & Delivery conditions. Therefore, sdrstore.eu has the right to cancel your order in the event of technical problems, delivery failure, Fair use policy and other similar situations.
Your payments are protected by advanced encryption and 3-D Secure authentication for safe online shopping.