





Install Bruce on LILYGO T-Embed CC1101: Board Selection and First Setup
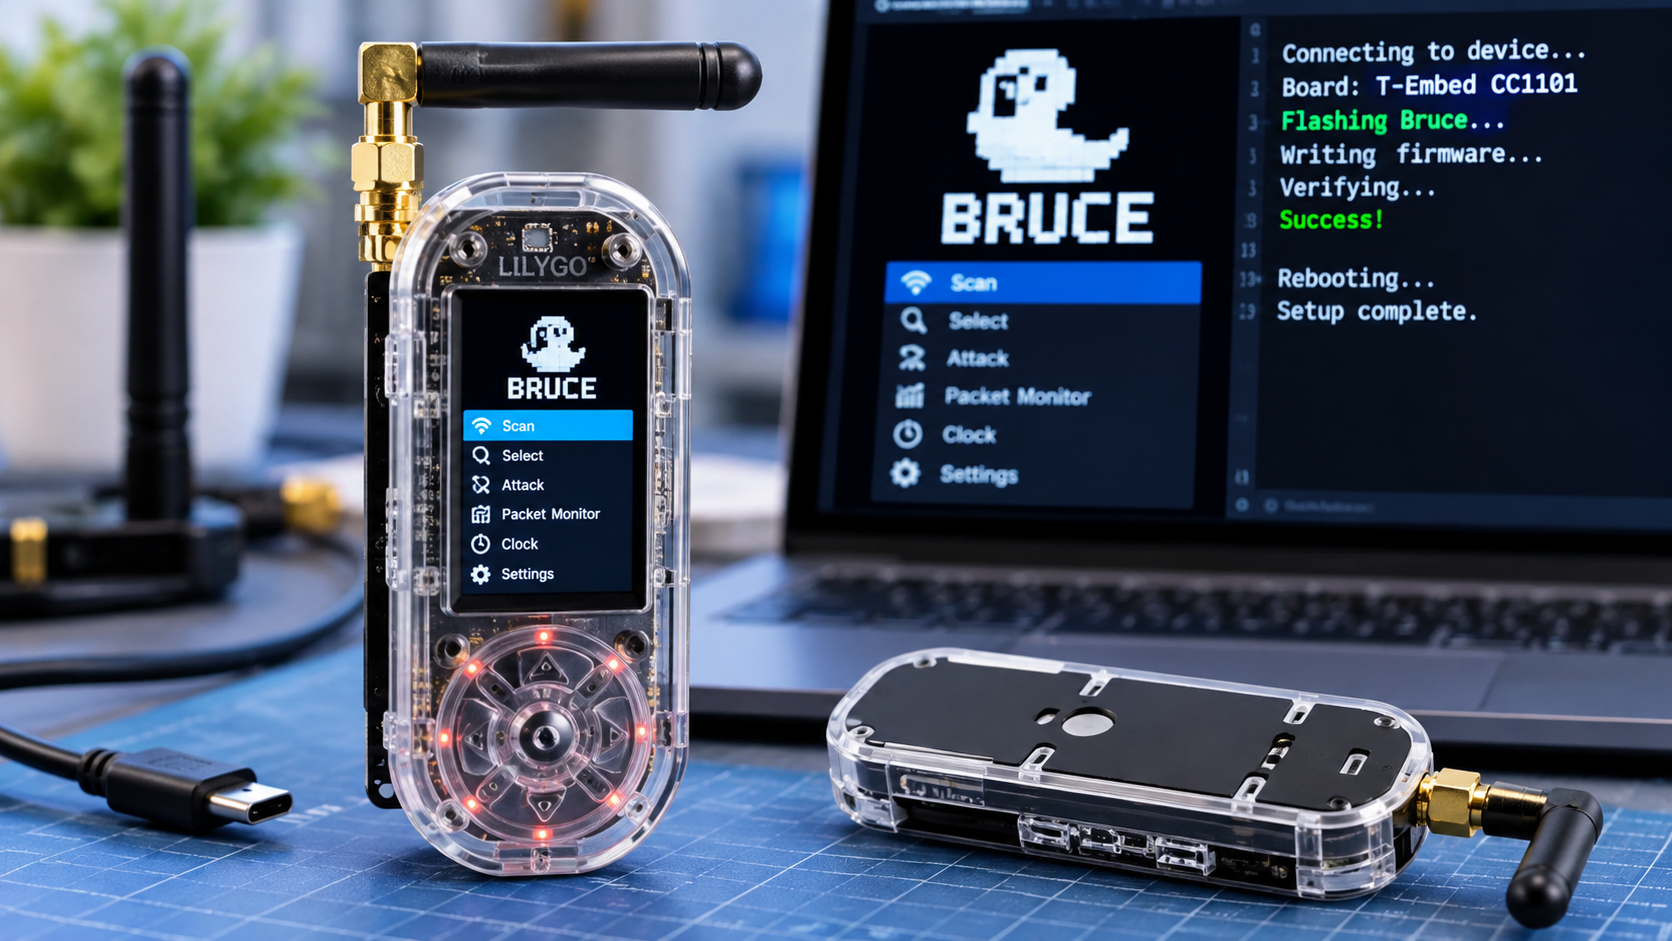
Install Bruce on the standard LILYGO T-Embed CC1101 with the official Web Flasher, selecting the CC1101 board rather than plain T-Embed or a generic ESP32-S3 target. Use a USB data cable, complete the installation, then check the display, encoder, settings and optional storage before exploring individual features. Correct board selection matters because the firmware includes hardware-specific display and peripheral configuration.
This guide covers the standard T-Embed CC1101. Check the complete model name on your order and board before starting, especially if yours is the CC1101 Plus variant.
Check the board before choosing firmware
The SDRstore T-Embed CC1101 listing describes an ESP32-S3 board with an integrated CC1101 radio, PN532 NFC hardware, 1.9-inch display and 1300mAh battery. A plain T-Embed is a different firmware target, even though the family names look similar.
| Board identity | Firmware selection | Important check |
|---|---|---|
| Plain T-Embed | Plain T-Embed build | Do not choose it merely because the name starts with T-Embed |
| T-Embed CC1101 | T-Embed CC1101 build | Official source-build target: lilygo-t-embed-cc1101 |
Bruce's build documentation explicitly identifies the CC1101 target. Its compatible-device list also distinguishes CC1101 and CC1101 Plus hardware. For Plus, confirm explicit support in the selected release; this tutorial does not assume that a similarly named image covers every revision.
What you need before flashing
- A desktop computer and compatible browser: Current Chrome or Edge is a practical starting point for the browser-based installer.
- A USB data cable: A charging-only cable can power the screen without providing a serial connection.
- Stable USB power and internet access: The computer downloads the firmware. The board does not need to join Wi-Fi for the USB installation.
- A backup: Save files and configuration you want to keep. Installing or erasing firmware can replace the factory application and internal data.
- Optional microSD and test tag: Useful for checking storage and NFC after installation; neither is required for writing Bruce over USB.
The installer uses ESP Web Tools and browser serial access. Close serial monitors, development tools and other flasher tabs that may already be using the device port.
Install Bruce with the official Web Flasher
- Connect the board: Attach it directly to the computer with the data cable.
- Open the official installer: Visit the Bruce Web Flasher.
- Select the release: Start with Latest. Use Beta only when you have a specific reason to test it.
- Select the hardware: Choose Lilygo, then the T-Embed CC1101 entry matching the standard board. Review the selected model before continuing.
- Connect the serial port: Click Flash and select the board in the browser's port chooser. Grant access to that device.
- Complete installation: Follow the prompts. Read any erase warning, keep the cable connected and wait for completion.
- Start Bruce: Allow the board to restart, or reset it after installation finishes. Release the encoder button so it can boot normally.
Bruce's installation guide recommends the official flasher. You do not need to install Arduino IDE or compile the project for this route.
If connection fails: enter download mode
The standard CC1101 board uses the encoder's center button as BOOT. Follow LILYGO's download-mode instructions:
- Press and hold the center of the encoder.
- While holding it, press and release the labelled RST button.
- Release the encoder button.
- Return to the installer and reconnect to the board's serial port.
The flasher's T-Embed instructions identify the CC1101 reset button on the board beside the ESP32-S3. Use the labelled reset control for your revision. A blank display in download mode is not evidence of a failed screen; the normal application is not running.
First setup: controls, display and version
Once Bruce opens, rotate the encoder to move through menus, press its center to select, and use the side button to go back. These controls are documented in the Bruce user-interface guide.
Open Config and check About for the firmware version. Adjust brightness and Dim Time to comfortable values, then restart once and check that normal navigation still works. The configuration guide describes these settings; labels can change between releases.
Start with the board build's default peripheral pins. External-module wiring examples for other ESP32 devices are not instructions to rewire the integrated CC1101 or PN532 on this board.
Check storage and NFC with simple tests
Optional microSD check
After the board boots successfully, power it down and insert a compatible card. Put a harmless text file on the card using your computer, then check that its filename appears under Files and SD. Bruce's Files guide distinguishes removable SD storage from internal LittleFS storage.
If mounting fails, try a known-good card before changing firmware pins. The LILYGO repository reports successful testing with SanDisk cards up to 32GB. That is a troubleshooting reference, rather than a universal maximum capacity.
Basic NFC check
Use a simple NFC test tag you own, such as an NTAG213 or NTAG215. In the RFID menu, use the built-in PN532 over I2C and the Read function, then check whether tag information appears when you bring it near the NFC antenna. The RFID documentation lists PN532 connectivity and these common tag types.
Keep this first check to reading a test tag. A successful read confirms a basic hardware path; it does not establish support for every card or credential system. Use radio and security functions only on equipment you own or are authorized to assess.
Common installation problems
| Symptom | First checks |
|---|---|
| No serial port appears | Try a known data cable, another USB port and a compatible desktop browser; check whether the operating system detects the device |
| Permission denied or port busy | Close serial monitors and other flasher tabs; review browser and operating-system port permissions |
| Failed to connect or initialize | Enter download mode, reopen the port chooser and reconnect |
| Upload succeeds but display or controls fail | Recheck the exact board target, release notes and any retained custom configuration |
| CC1101 or PN532 is not detected | Confirm the CC1101 build and default onboard interface configuration before applying external-module pin settings |
Espressif's ESP32-S3 troubleshooting guide covers port access, bootloader entry and power stability. Install a USB driver only when it matches the hardware actually identified by your operating system.
Updating or returning to factory firmware
Before updating, record the working Bruce version and back up files and settings. Keep the same confirmed board selection. For manual flashing, follow the official instructions for the exact image; a merged firmware file and an application-only binary are not interchangeable.
To return to the manufacturer's software, use the matching factory resources in the LILYGO repository. For a new unit or matching classroom devices, check the LILYGO range and request a quote specifying the exact board variant and accessories.
Frequently asked questions
Which board should I select for T-Embed CC1101?
Select the T-Embed CC1101 entry for the standard board. Do not substitute plain T-Embed or generic ESP32-S3. Confirm Plus support separately if that is your model.
Do I need Arduino IDE to install Bruce?
No. The official Web Flasher installs a prepared build. Development tools are needed when you choose to build or modify firmware yourself.
Do I need a microSD card before flashing?
No. Direct USB installation writes the device's internal flash. Add a compatible card afterward when you want removable file storage.
Why does the screen light up but the computer show no port?
Power alone does not prove the cable carries data. Check the cable, USB port, operating-system detection and download mode.
Should I install a launcher first?
It is optional. The direct Web Flasher route is sufficient for this tutorial. A launcher is a separate choice for managing firmware installations.
Can installing Bruce add hardware that my board lacks?
No. Feature availability depends on the board, attached modules and firmware build. A menu entry does not prove that the corresponding physical radio or peripheral is installed.
Shop products for this guide
Explore relevant products from our store.
Alternatives considered
Other relevant options for this guide.
-
LILYGO® T-Embed ESP32-S3 Custom Control Panel with 1.9" LCD Display
Обычный T-Embed без указанного CC1101; статья прямо предупреждает не выбирать для этой установки plain T-Embed.
No posts found
Write a review





We support all major card and digital payment options. More local methods are available and shown during checkout.
You enter into a binding sales contract once you have received an 'order confirmation and sales receipt' email from us, in line with our Sales & Delivery conditions. Therefore, sdrstore.eu has the right to cancel your order in the event of technical problems, delivery failure, Fair use policy and other similar situations.





Your payments are protected by advanced encryption and 3-D Secure authentication for safe online shopping.