
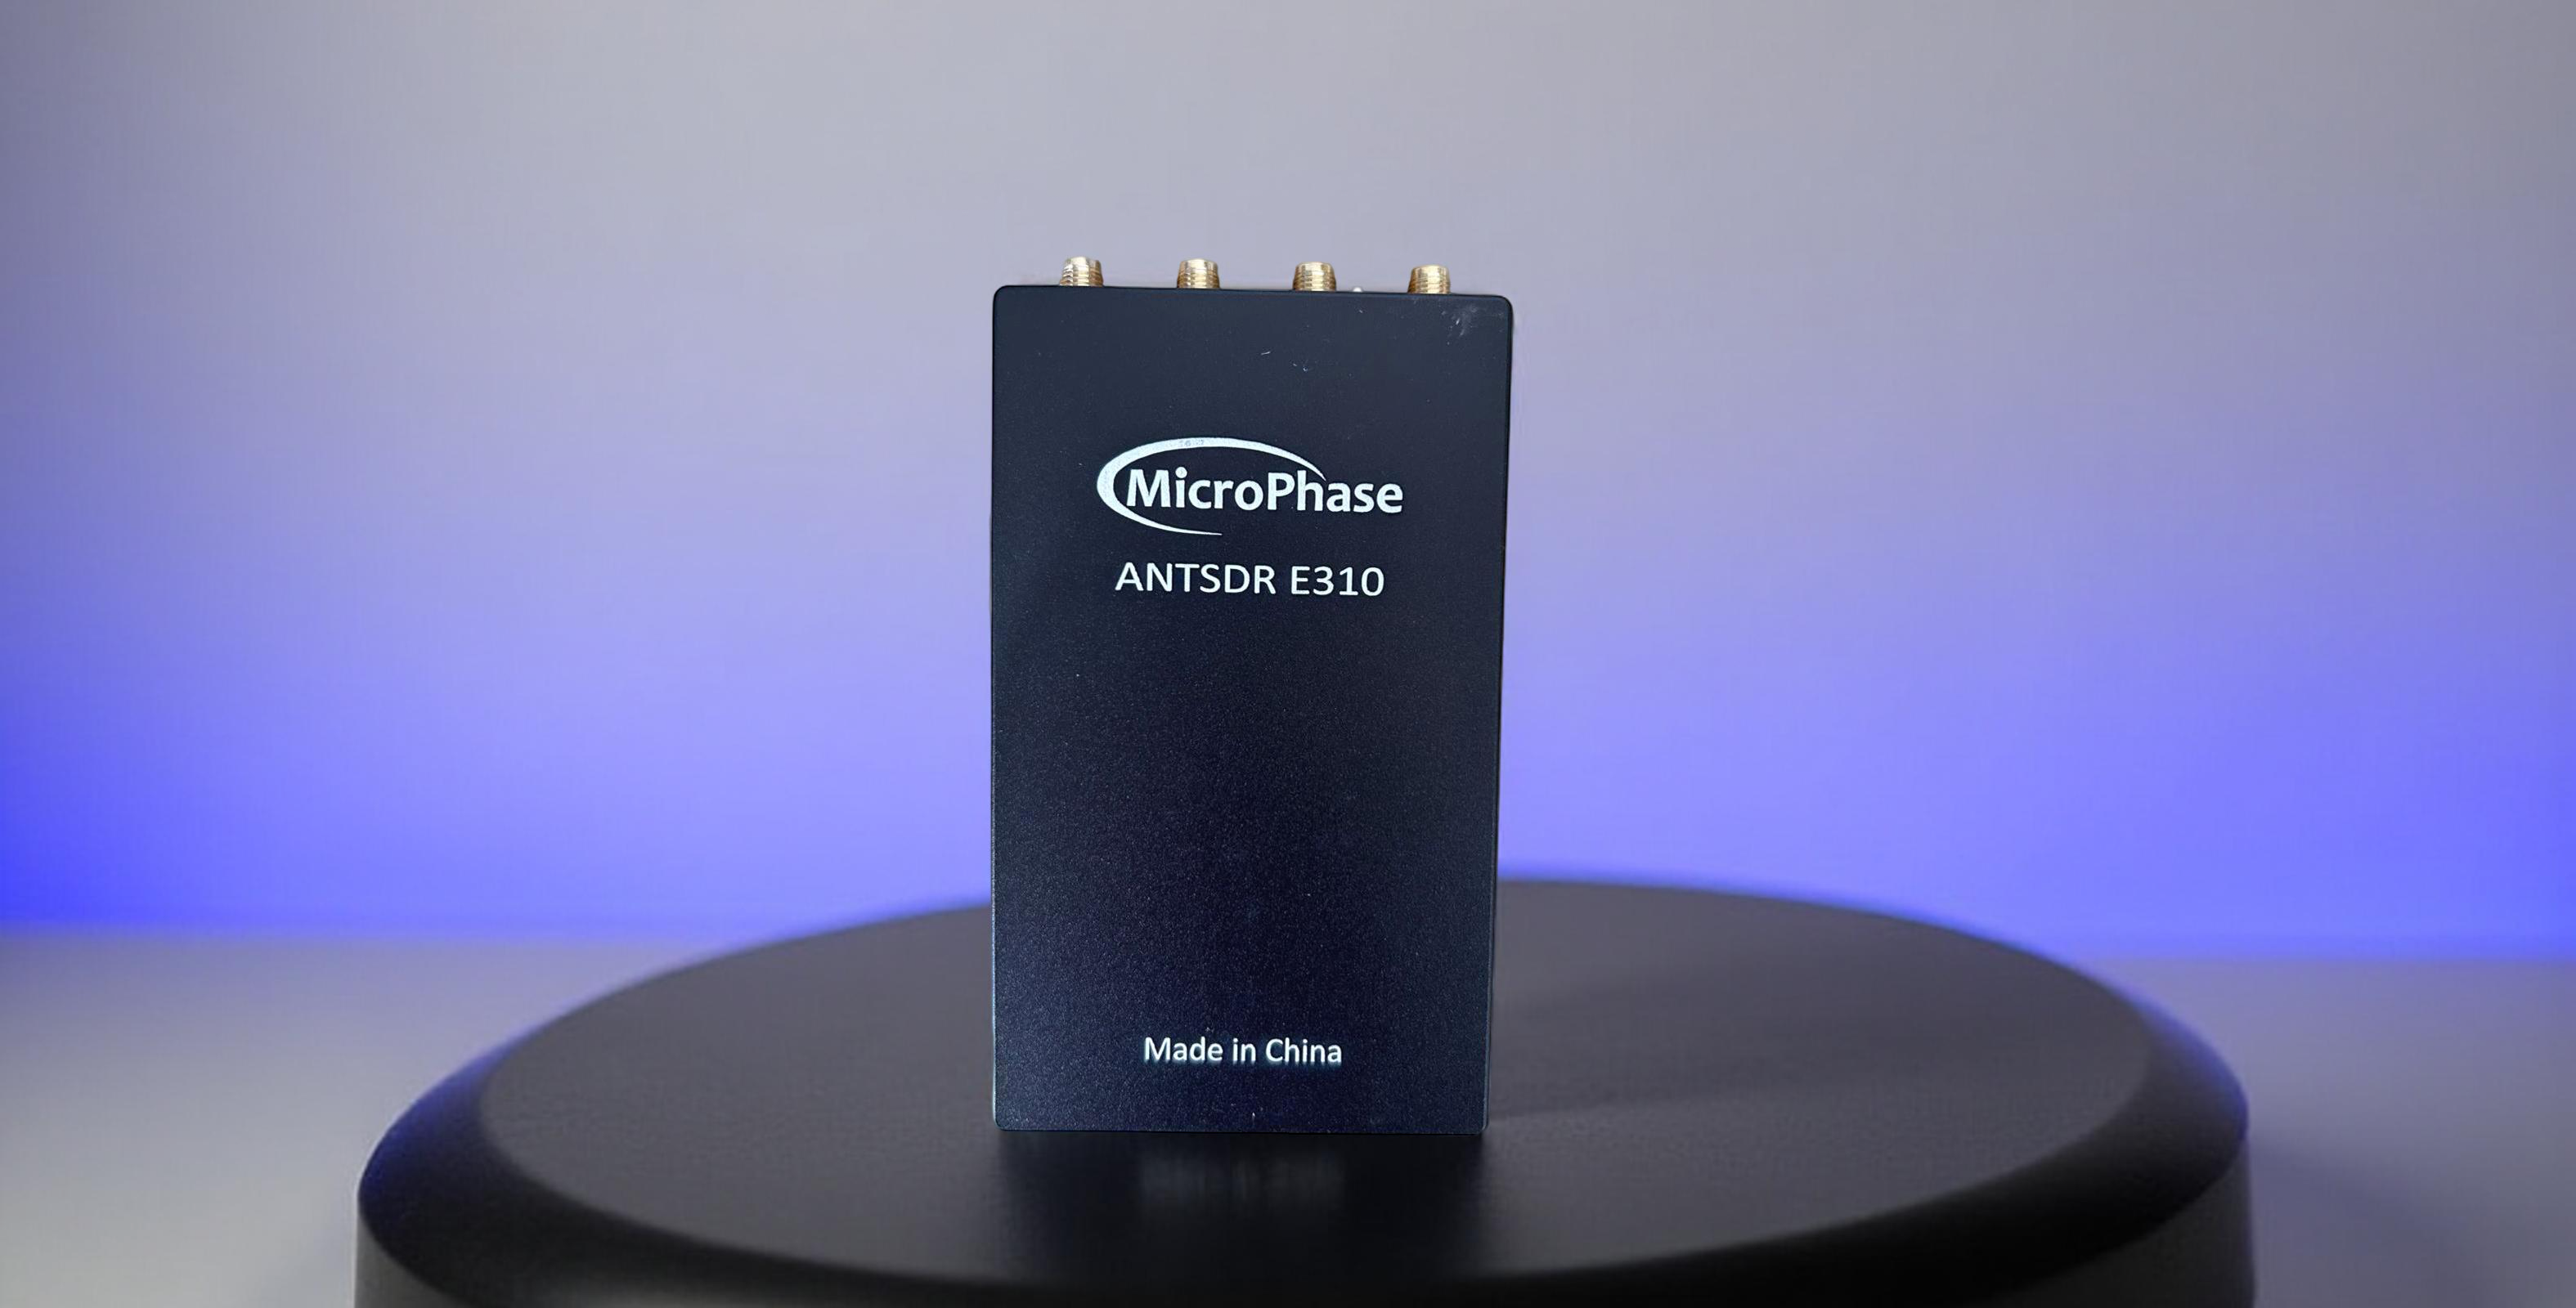
MicroPhase E310 Setup: Unboxing to First Transmission
What's in the E310 Package
Your MicroPhase E310 package should include:
- E310 SDR Board: Standalone embedded SDR with integrated Zynq-7020 and AD9361/AD9363
- Power Adapter: DC power supply (typically 12V/2A for full performance)
- USB Cables: USB data cable and micro-USB for serial console access
- Network Cable: Ethernet cable for Gigabit network connection
- 2× Short Rubber Antennas: Basic antennas for initial testing
- MicroSD Card: Pre-loaded with firmware (may require updates)
- Quick Start Documentation: Basic setup and IP configuration guide
E310 Key Specifications
- Frequency Coverage: 70 MHz – 6 GHz (AD9361) or 325 MHz – 3.8 GHz (AD9363)
- MIMO Configuration: 2×2 full-duplex with independent TX/RX chains
- Instantaneous Bandwidth: Up to 56 MHz per channel
- Processing Power: Xilinx Zynq-7020 SoC (dual ARM Cortex-A9 + FPGA)
- Standalone Operation: Embedded Linux with onboard GNU Radio and UHD
- Connectivity: Gigabit Ethernet, USB-OTG, USB-UART, USB-JTAG
Physical Setup and Initial Connections
- Power Connection: Connect the DC power adapter to the E310. The device should boot automatically (watch for LED activity).
- Antenna Installation: Connect the 4 included antennas to the SMA connectors (TX1/RX1, TX2/RX2). For testing, use all four ports.
- Network Setup: Connect Ethernet cable between E310 and your network/PC. The device boots with default IP 192.168.1.10.
- Console Access: Connect micro-USB cable to access serial console at 115200 baud (optional but recommended for troubleshooting).
Network Configuration and Access
- Configure Your PC Network: Set your computer's Ethernet adapter to static IP in same subnet:
- IP Address: 192.168.1.100 (any unused address)
- Subnet Mask: 255.255.255.0
- Gateway: 192.168.1.1
- Verify Network Connection: Test connectivity with:
ping 192.168.1.10 - SSH Access: Connect to the E310 for advanced configuration:
Default password:ssh [email protected]analog
Firmware Setup and Updates
- Check Current Firmware: Via SSH, run
uhd_find_devicesto verify UHD installation. - Update Firmware (if needed): Download latest firmware from MicroPhase GitHub.
- SD Card Preparation: Copy firmware files to FAT32-formatted SD card and insert into E310.
- Reboot and Verify: Power cycle the device and confirm new firmware loads successfully.
First Reception Test
- SSH into E310: Connect via
ssh [email protected] - Launch GNU Radio: The E310 has GNU Radio pre-installed. Create a simple flowgraph:
gnuradio-companion - Basic RX Flowgraph: Create flowgraph with:
- UHD: USRP Source (device args: blank for local operation)
- Sample Rate: 2e6 (2 Msps)
- Center Frequency: 100e6 (FM broadcast band)
- Connect to Audio Sink for monitoring
- Execute and Verify: Run flowgraph and confirm FM radio reception
First Transmission Setup
- Create TX Flowgraph: In GNU Radio Companion, add:
- Signal Source: Sine wave at 1 kHz, amplitude 0.5
- UHD: USRP Sink with TX frequency (e.g., 433 MHz ISM band)
- Sample Rate: 2e6
- TX Gain: Start low (10-20 dB)
- Safety Precautions:
- Use dummy load or attenuator for initial testing
- Verify frequency is legal for your location
- Keep TX power low during testing
- Execute Transmission: Run flowgraph and monitor with external receiver or spectrum analyzer
Remote Operation from PC
- Install UHD on Host PC: Download and install UHD with E310 support from MicroPhase UHD repository.
- Network UHD Connection: Use device arguments
addr=192.168.1.10in GNU Radio on your PC. - Test Remote Operation: Verify you can control E310 from host computer GNU Radio installation.
MIMO Configuration and Testing
- Dual-Channel Setup: Configure both RX and TX channels in GNU Radio:
- Use num_recv_frames=2 for dual RX
- Set antenna ports: "RX1", "RX2" for receive channels
- Ensure identical sample rates and synchronization
- Antenna Placement: Space antennas appropriately for MIMO effectiveness (≥λ/2 separation).
- Phase Coherency: Perform calibration for applications requiring phase-matched channels.
Advanced Applications
- Cellular Research: Deploy srsRAN for LTE base station development
- WiFi Prototyping: Use OpenWiFi for 802.11 research
- Custom Applications: Develop standalone applications using the onboard ARM processors
- FPGA Development: Utilize Zynq-7020 FPGA for custom signal processing
Performance Optimization
- Thermal Management: Ensure adequate cooling during sustained high-power operation
- Network Bandwidth: Use Gigabit Ethernet for high sample rate streaming
- Buffer Management: Adjust buffer sizes for stable operation at high data rates
- Power Supply: Use quality 12V/2A+ supply for consistent performance
Troubleshooting Common Issues
- Network Connection Failed: Verify IP configuration, cable connections, and firewall settings
- No RF Output: Check antenna connections, TX gain settings, and frequency permissions
- Poor Performance: Ensure adequate power supply and proper thermal management
- Firmware Issues: Use serial console to monitor boot process and diagnose problems
Serial Console Access
- Install Terminal Software: Use PuTTY (Windows) or screen (Linux) for serial access
- Configure Connection: Set baud rate to 115200, 8N1
- Monitor Boot Process: Watch system startup messages for troubleshooting
- System Commands: Use
ifconfig,uhd_find_devicesfor network and UHD verification
Ready for Advanced Projects
With your E310 successfully configured for transmission and reception, you're ready to explore advanced standalone SDR applications, custom FPGA development, and embedded GNU Radio projects that run entirely on the device.
Get Your MicroPhase E310 Today!
Experience the power of standalone SDR development with the E310's embedded processing and full-duplex MIMO capabilities. Perfect for field deployment and autonomous SDR applications.
Get your E310 today!
Comments
No posts found
Write a review
We support all major card and digital payment options. More local methods are available and shown during checkout.
You enter into a binding sales contract once you have received an 'order confirmation and sales receipt' email from us, in line with our Sales & Delivery conditions. Therefore, sdrstore.eu has the right to cancel your order in the event of technical problems, delivery failure, Fair use policy and other similar situations.
Your payments are protected by advanced encryption and 3-D Secure authentication for safe online shopping.