PLUTO+ SDR Setup Guide: First Signal with SDRangel, GNU Radio, and Ethernet
PLUTO+ SDR Setup Guide: First Signal with SDRangel, GNU Radio, and Ethernet
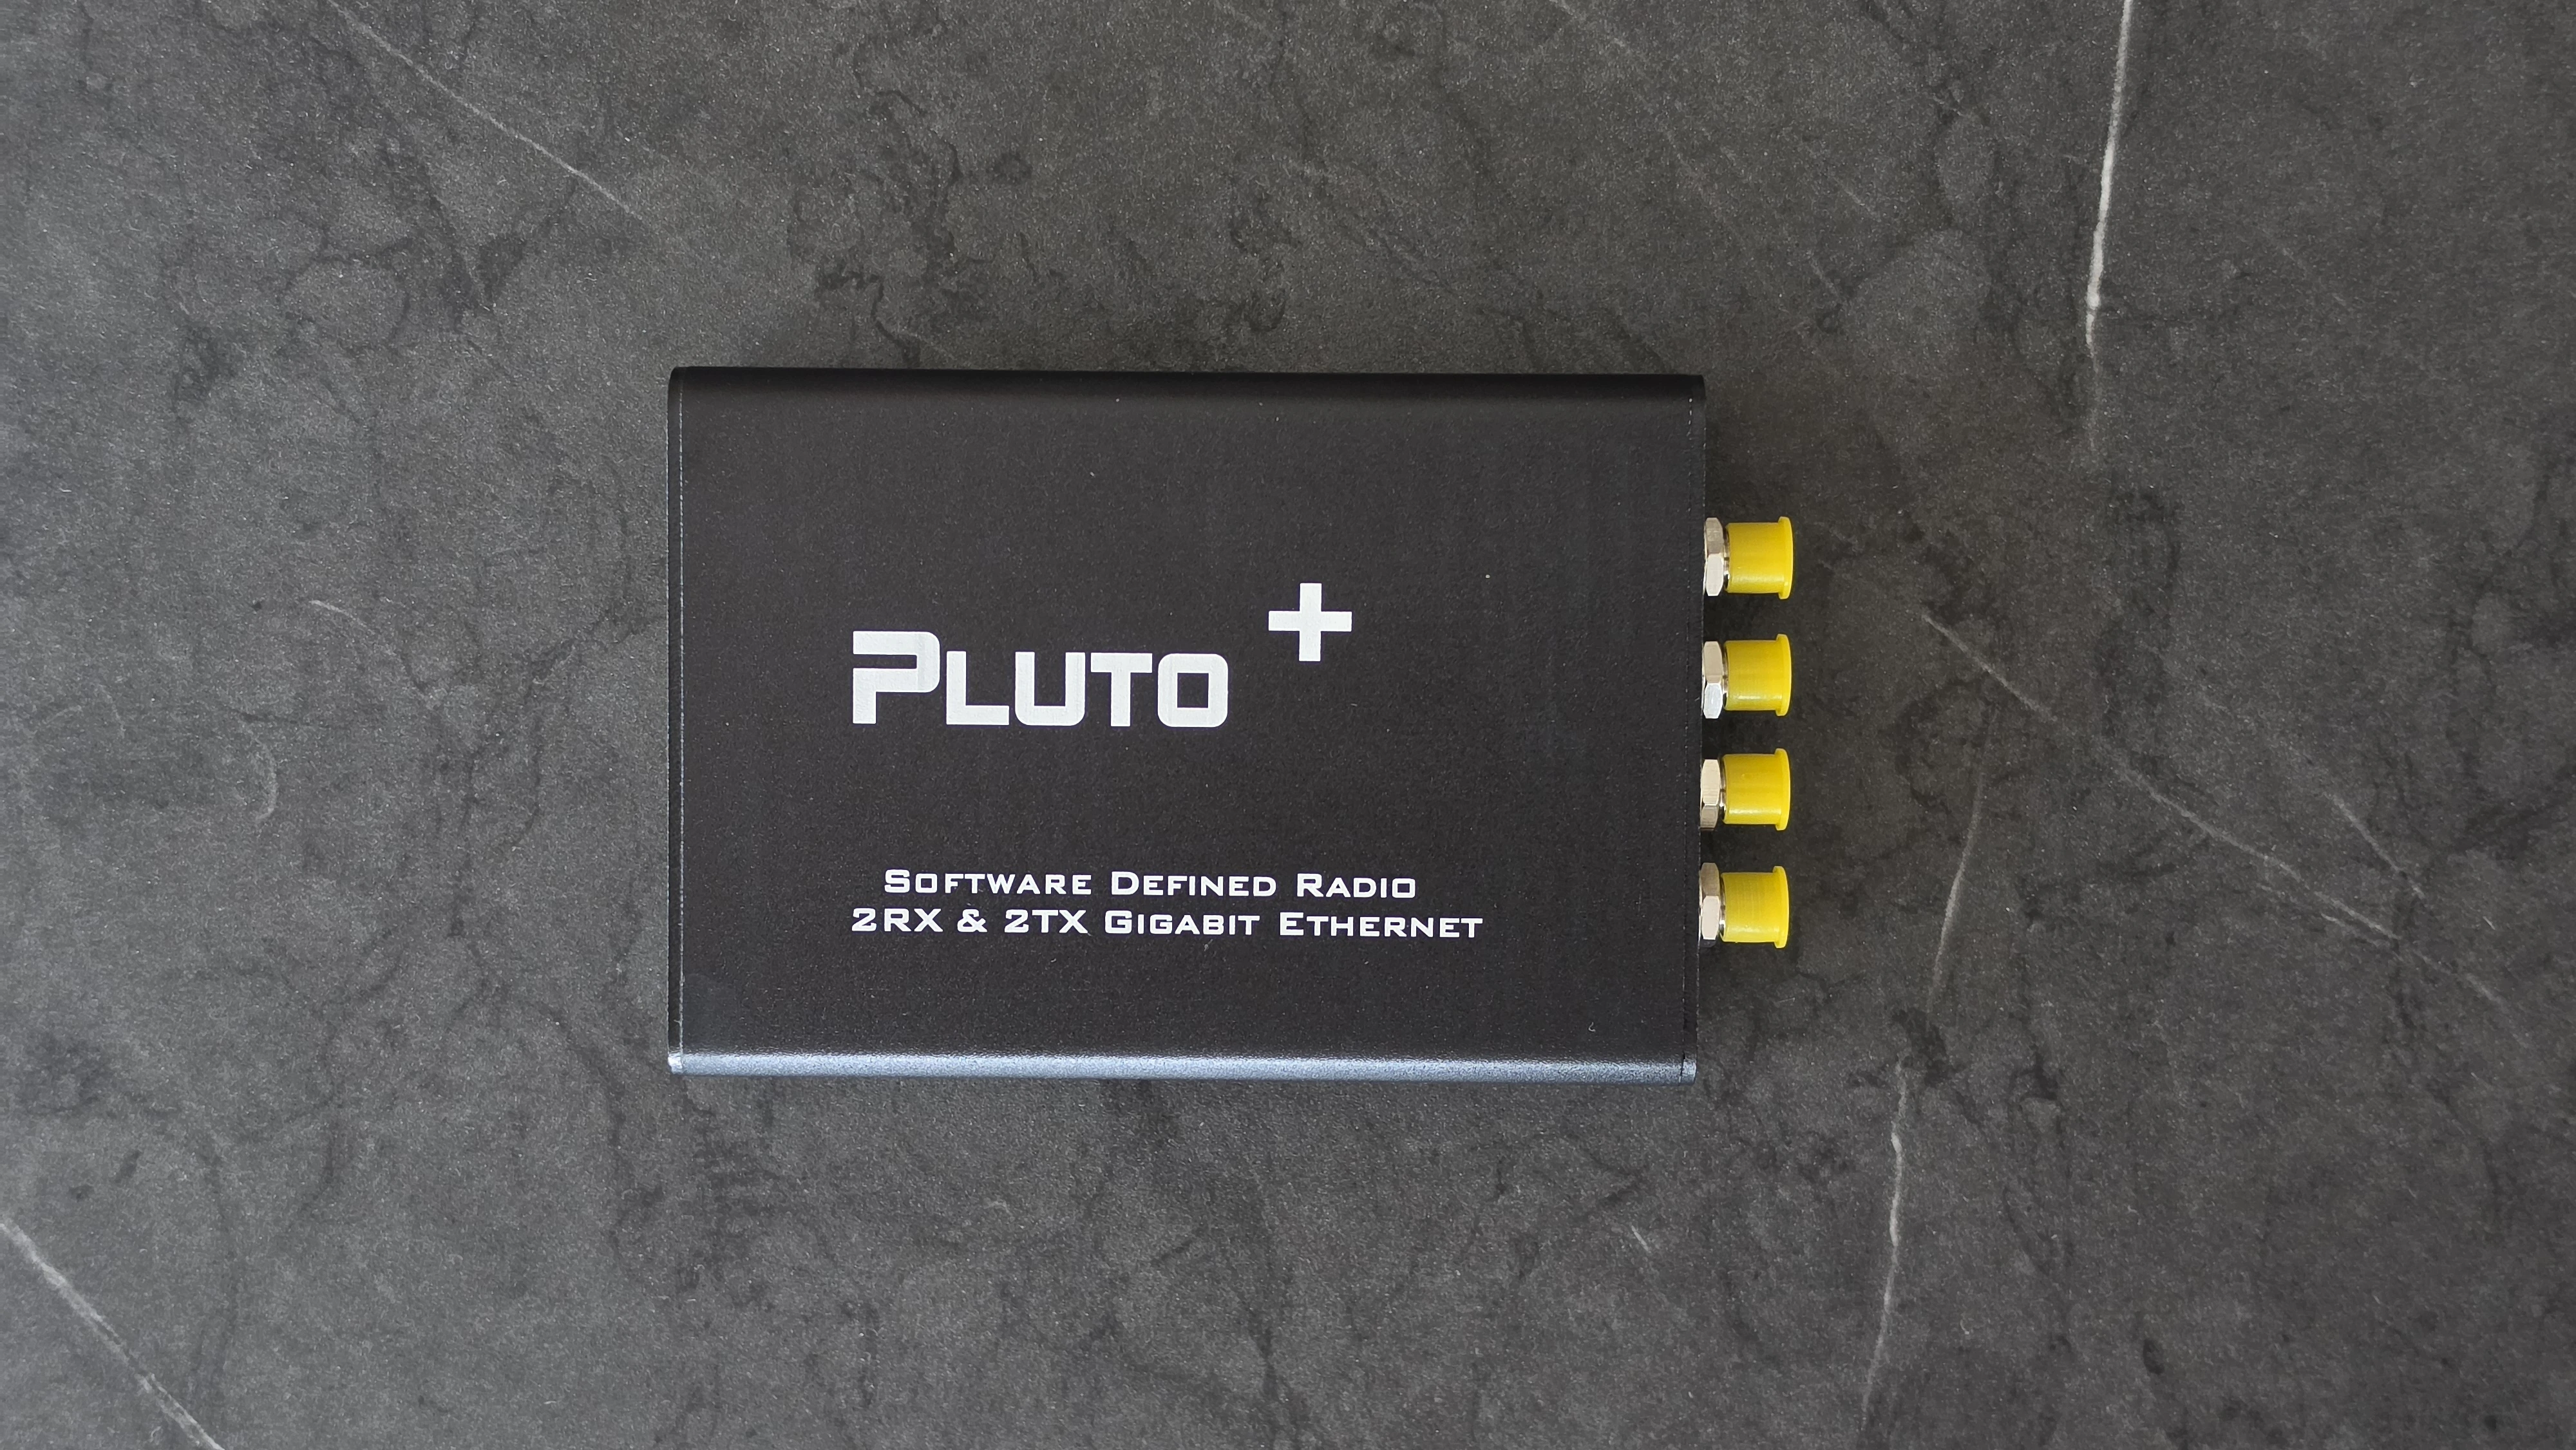
The PLUTO+ SDR is a powerful AD9363-based software-defined radio for users who want more than a basic receiver. With 2TX/2RX support, Gigabit Ethernet, Micro SD boot support, and listed 70 MHz–6 GHz coverage, it is a flexible platform for SDR development, RF testing, GNU Radio experiments, and digital communications learning.
This PLUTO+ SDR setup guide shows how to get your first signal using SDRangel, GNU Radio, and Ethernet. It is written for buyers who want a practical first-start workflow after receiving the PLUTO+ SDR AD9363 2T2R Radio SDR Transceiver 70MHz–6GHz.
The goal is simple: power the device safely, confirm that your computer can see it, connect by USB or Ethernet, receive your first local signal, and then move into GNU Radio once the hardware is working.
Quick Setup Summary
| Step | What to Do | Why It Matters |
|---|---|---|
| 1 | Connect the PLUTO+ SDR by USB first | USB is usually the easiest way to confirm the device is alive |
| 2 | Check the device IP or IIO URI | SDRangel and GNU Radio need the correct IIO connection path |
| 3 | Install SDRangel | Best first visual test for receiving a signal |
| 4 | Install libiio and GNU Radio with gr-iio | Needed for development workflows and custom flowgraphs |
| 5 | Receive a local FM broadcast or other legal signal | Confirms the receiver, antenna, gain, and software are working |
| 6 | Move to Ethernet once USB works | Ethernet is better for cleaner lab setups and network workflows |
What You Need Before Starting
Before opening SDRangel or GNU Radio, prepare the basic hardware and software. The PLUTO+ SDR is more advanced than an RTL-SDR, so it is worth checking the setup carefully before changing firmware, testing transmit, or modifying advanced network settings.
Recommended beginner setup
- PLUTO+ SDR AD9363 2T2R transceiver
- USB cable for first setup and power
- Ethernet cable for network operation
- Windows, Linux, or macOS computer
- SDRangel for first visual signal testing
- GNU Radio with gr-iio for development
- libiio tools for checking the device connection
- Suitable antenna for the frequency you want to receive
If you choose Bundle 6, the package includes one PLUTO+ SDR, four 8 dBi 2.4 / 5 / 5.8 GHz antennas, four 5 dBi 40 MHz–860 MHz antennas, two USB cables, four 40 MHz–6 GHz telescopic antennas, and four 12 dBi 700 MHz–2700 MHz antennas. This makes it easier to test different bands without buying antennas separately.
Important Safety Note Before Transmitting
The PLUTO+ SDR can transmit, so users must follow local radio regulations. Do not transmit on frequencies where you are not licensed or authorized. For first setup, start with receive-only testing. If you later test transmit workflows in GNU Radio, use a dummy load, attenuators, shielding, or a controlled lab setup.
For this guide, the first signal test is receive-only. This is safer, easier, and avoids accidental RF transmission.
Step 1: Inspect the PLUTO+ SDR and Connect Power
Start by checking the board, connectors, antennas, and cables. Make sure the antenna is connected to the correct RX port before receiving. If you are only testing reception, do not connect antennas to TX ports unless you know what your software is doing.
Connect the PLUTO+ SDR to your computer by USB first. Even if you plan to use Ethernet later, USB is usually the easiest way to confirm that the board powers on and appears to the operating system.
First power checklist
- Use a reliable USB cable.
- Use a stable 5V power source if external power is required.
- Do not connect TX antennas for the first receive-only test.
- Start with one RX antenna connected.
- Do not update firmware before confirming the device works.
Step 2: Find the PLUTO+ SDR IP Address
PlutoSDR-style devices are commonly accessed through an IIO URI such as ip:192.168.2.1. On the standard Pluto network setup, the device IP is commonly 192.168.2.1 and the host-side IP is commonly 192.168.2.10.
With PLUTO+ SDR, the exact IP can depend on firmware, USB network mode, Ethernet configuration, and whether your network uses DHCP or static addressing. The safest approach is to confirm the current IP before configuring SDRangel or GNU Radio.
Ways to check the device
- Open the Pluto-style mass storage device and check the information or configuration files if available.
- Try opening
http://192.168.2.1when connected by USB network mode. - Try pinging
192.168.2.1. - Check your router or DHCP client list when using the physical Ethernet port.
- Use libiio tools such as
iio_info -u ip:192.168.2.1if installed.
In the rest of this guide, replace 192.168.2.1 with your actual PLUTO+ SDR IP address if your device uses a different one.
Step 3: Install SDRangel for the First Signal Test
SDRangel is one of the best first programs to test a PLUTO+ SDR because it gives you a visual spectrum, waterfall, device controls, demodulators, and receive/transmit support in one interface.
Install SDRangel for your operating system. On Windows, use the available installer. On Linux, use a supported package, Flatpak, Snap, distribution package, or build from source depending on your system. On macOS, use the available build if compatible with your machine.
Why start with SDRangel?
- It gives a clear spectrum and waterfall view.
- It supports PlutoSDR-style devices.
- It can work with remote devices over IP.
- It is easier for first visual testing than a custom GNU Radio flowgraph.
- It helps confirm frequency, sample rate, gain, and antenna setup.
Step 4: Add the PLUTO+ SDR in SDRangel
If the PLUTO+ SDR is detected automatically, you may be able to select it directly as a PlutoSDR receive device. If you are using Ethernet and the device does not appear automatically, add it manually using SDRangel’s device user arguments.
For Ethernet operation, SDRangel’s PlutoSDR plugin documentation recommends creating a non-discoverable device reference and specifying the device address with a URI argument.
SDRangel Ethernet setup
- Open SDRangel.
- Go to Preferences.
- Open the Devices or Device User Arguments section.
- Create a non-discoverable device reference.
- Use the hardware ID
PlutoSDR. - Add the user argument
uri=ip:192.168.2.1. - Replace
192.168.2.1with your PLUTO+ SDR Ethernet IP if different. - Restart SDRangel so the setting becomes active.
This manual device entry is important because Ethernet-connected Pluto-style devices may not always be discovered automatically.
Step 5: Receive Your First Signal in SDRangel
For the first receive test, choose a strong local signal. FM broadcast radio is often the easiest because it is strong in most areas and works well with a simple antenna. A local VHF or UHF signal can also work if you know the frequency and it is legal to receive in your country.
Suggested first test settings
| Setting | Beginner Value |
|---|---|
| Mode | Receive only |
| Frequency | Strong local FM station, for example around 88–108 MHz |
| Sample rate | Start around 1–2 MSPS |
| RF bandwidth | Match the signal type, start moderate |
| Gain | Start moderate, then adjust while watching the waterfall |
| Channel plugin | Broadcast FM or suitable demodulator for your signal |
Start the receiver and watch the waterfall. You should see a strong local signal around the tuned frequency. Add the correct demodulator channel, tune the channel offset if needed, and adjust gain until the signal is visible without overloading the receiver.
Gain advice
- Do not set gain to maximum immediately.
- If the whole waterfall becomes bright, reduce gain.
- If the signal is weak but the noise floor is low, increase gain slowly.
- Move the antenna before assuming the SDR is faulty.
- Use the correct antenna for the band you are testing.
Step 6: Confirm the PLUTO+ SDR with libiio
Before moving to GNU Radio, it is useful to confirm that libiio can communicate with the device. This helps separate software problems from network problems.
On Linux, after installing libiio tools, try:
iio_info -u ip:192.168.2.1 Replace the IP address with your actual PLUTO+ SDR IP. If the command returns device information, your IIO connection is working. If it times out, check the IP address, firewall, Ethernet cable, USB network driver, and whether the device is powered correctly.
Useful connection checks
ping 192.168.2.1
iio_info -u ip:192.168.2.1
If the ping works but iio_info fails, the issue may be with the IIO service, firewall, firmware, or network route. If ping does not work, fix the network connection first.
Step 7: Install GNU Radio and gr-iio
GNU Radio is the best next step once SDRangel confirms that the PLUTO+ SDR receives signals. GNU Radio allows you to build your own SDR flowgraphs, test modulation and demodulation, create signal chains, and experiment with transmit and receive workflows.
For PlutoSDR-style hardware, GNU Radio normally uses gr-iio blocks. On many Linux systems, you can install GNU Radio and gr-iio from the package manager. On other systems, you may need to install GNU Radio separately and add gr-iio support.
Ubuntu or Debian example
sudo apt update
sudo apt install gnuradio gr-iio libiio-utils
After installation, open GNU Radio Companion and look for PlutoSDR or IIO blocks. You should see source and sink blocks that can use an IIO context URI such as ip:192.168.2.1.
Step 8: Build a Simple GNU Radio Receive Flowgraph
Your first GNU Radio test should be simple. Do not start with transmit, MIMO, or complex digital modes. First, confirm that GNU Radio can receive samples from the PLUTO+ SDR.
Basic receive flowgraph idea
- PlutoSDR Source or IIO source block
- Frequency translating or low-pass filter block if needed
- QT GUI Frequency Sink
- QT GUI Waterfall Sink
- Optional demodulator for FM or narrowband FM
- Audio Sink if decoding audio
Suggested GNU Radio source settings
| GNU Radio Setting | Beginner Value |
|---|---|
| IIO context URI | ip:192.168.2.1 |
| LO frequency | A strong local test frequency |
| Sample rate | 1 MSPS or 2 MSPS for first tests |
| RF bandwidth | Start close to or slightly above your signal bandwidth |
| Gain mode | Manual or slow attack |
| Buffer size | 32768 is a common starting point |
If the flowgraph starts and the frequency sink shows live spectrum data, GNU Radio is successfully receiving samples from the PLUTO+ SDR.
Step 9: First Signal Test in GNU Radio
The easiest GNU Radio first signal is a strong local FM broadcast or another strong legal signal in your area. Start with receive-only spectrum display before trying audio demodulation.
- Add a PlutoSDR Source or IIO source block.
- Set the URI to
ip:192.168.2.1or your actual device IP. - Set the sample rate to 1–2 MSPS.
- Set the LO frequency to a strong local signal.
- Add a QT GUI Frequency Sink.
- Run the flowgraph.
- Confirm that a signal appears in the spectrum.
- Add filtering and demodulation only after the spectrum test works.
This step-by-step approach is much easier than building a full receiver immediately. If you can see the signal in the frequency sink, your connection, sample stream, and basic hardware setup are working.
Step 10: Using Ethernet Instead of USB
Ethernet is one of the biggest advantages of the PLUTO+ SDR. It allows cleaner bench setups, easier device placement near antennas, and more flexible network-connected SDR workflows.
However, Ethernet setup can be slightly more confusing than USB because you must know the device IP address and make sure your computer is on the same network or subnet.
Ethernet checklist
- Connect the Ethernet cable directly or through a router/switch.
- Confirm the PLUTO+ SDR IP address.
- Make sure your computer can ping the device.
- Use the correct IIO URI in software, for example
ip:192.168.2.1. - In SDRangel, add a manual non-discoverable PlutoSDR device if it is not detected.
- In GNU Radio, use the same IP URI in the PlutoSDR source or sink block.
If Ethernet does not work, go back to USB and confirm the device still works. Then troubleshoot network settings separately.
SDRangel vs GNU Radio: Which Should You Use First?
| Software | Best For | Beginner Recommendation |
|---|---|---|
| SDRangel | Fast visual testing, receiving signals, spectrum and waterfall, practical SDR use | Use first |
| GNU Radio | Custom flowgraphs, DSP learning, digital communications, research and development | Use after hardware is confirmed |
| Ethernet | Network-connected SDR setups, cleaner lab placement, remote workflows | Use after USB or basic connectivity works |
The best beginner path is SDRangel first, then GNU Radio, then Ethernet optimization. This prevents you from troubleshooting three problems at once.
Common PLUTO+ SDR Setup Problems and Fixes
SDRangel does not detect the PLUTO+ SDR over Ethernet
Add the device manually in the SDRangel device user arguments. Use hardware ID PlutoSDR and add uri=ip:your_device_ip. Restart SDRangel after saving the setting.
GNU Radio cannot connect to the device
Test the connection with ping and iio_info. If iio_info -u ip:your_device_ip fails, fix the IIO or network connection before changing the flowgraph.
The signal is visible but weak
Check the antenna, connector, frequency, and gain. Make sure you are using an antenna suitable for the band. The Bundle 6 antennas cover different ranges, so choose the correct one for your test frequency.
The waterfall is overloaded
Reduce gain. Too much gain can make the display look active but actually reduce signal quality.
Ethernet works in one program but not another
Make sure both programs use the same IIO URI. Some software discovers network devices automatically, while SDRangel may require a manual non-discoverable PlutoSDR reference for Ethernet use.
The device works over USB but not over Ethernet
Check the Ethernet IP address, router DHCP list, firewall, cable, and subnet. Also confirm that the firmware and jumper configuration support the Ethernet mode you are trying to use.
Best First Signals to Try
Start with strong receive-only signals. Avoid transmit testing until the receive chain is working and you understand your local regulations.
- FM broadcast radio around 88–108 MHz
- Strong local VHF or UHF signals that are legal to receive
- ISM-band signals for spectrum observation
- 2.4 GHz signals using the included 2.4 / 5 / 5.8 GHz antennas
- Cellular-band spectrum observation where legal, using the included 700 MHz–2700 MHz antennas
For the first test, choose a signal you know is present in your area. This makes troubleshooting much easier.
Recommended Product for This Setup
For this guide, the recommended product is the PLUTO+ SDR AD9363 2T2R Radio SDR Transceiver 70MHz–6GHz. It is a strong choice for users who want a PlutoSDR-style development board with Ethernet, 2TX/2RX, Micro SD boot support, and wide listed RF coverage.
If you want a more complete starter package, Bundle 6 is especially useful because it includes multiple antenna sets for different frequency ranges. This makes it easier to test your first signals across VHF, UHF, cellular, ISM, WiFi, and general RF bands.
Final Setup Recommendation
The best way to set up the PLUTO+ SDR is to move in stages. First, power the board and confirm basic USB connectivity. Second, test your first signal in SDRangel. Third, confirm the IIO connection with tools like iio_info. Fourth, build a simple GNU Radio receive flowgraph. Finally, move to Ethernet once the device is already proven to work.
This workflow avoids the most common beginner mistake: trying to configure Ethernet, GNU Radio, SDRangel, drivers, antennas, and gain settings all at once. Keep the first test simple, receive a strong local signal, then build from there.
For buyers who want a flexible SDR development platform, the PLUTO+ SDR is a very capable choice. It is not as simple as a receive-only RTL-SDR, but for SDRangel, GNU Radio, Ethernet workflows, and AD9363-based experimentation, it gives much more room to grow.
FAQ
Does PLUTO+ SDR work with SDRangel?
Yes. SDRangel supports PlutoSDR-style devices. For Ethernet use, you may need to manually add a PlutoSDR device reference and specify the IIO URI, such as uri=ip:192.168.2.1.
Does PLUTO+ SDR work with GNU Radio?
Yes. PLUTO+ SDR can be used in GNU Radio through PlutoSDR or IIO blocks when gr-iio and libiio are installed. Use the correct IIO context URI for your device.
What is the default PLUTO+ SDR IP address?
PlutoSDR-style devices commonly use 192.168.2.1 for the device in USB network mode, but PLUTO+ Ethernet settings can depend on firmware and network configuration. Always confirm the actual IP address before setup.
Should I start with USB or Ethernet?
Start with USB for the first test because it is usually easier to confirm that the device powers on and works. After that, move to Ethernet for network-connected SDR workflows.
What is the best first signal to receive with PLUTO+ SDR?
A strong local FM broadcast station or another strong legal local signal is usually the best first receive test because it makes antenna and gain troubleshooting easier.
Why does SDRangel not find my PLUTO+ SDR over Ethernet?
Ethernet-connected Pluto-style devices may not be discovered automatically. Add a non-discoverable PlutoSDR device reference in SDRangel and use a user argument such as uri=ip:your_device_ip.
Can I transmit with PLUTO+ SDR?
Yes, the PLUTO+ SDR is transmit-capable, but you must follow local radio regulations. For first setup, use receive-only testing and only transmit in a controlled legal environment with suitable attenuation or a dummy load.
Is PLUTO+ SDR good for beginners?
PLUTO+ SDR is best for motivated beginners, students, engineers, and intermediate users who want SDR development, GNU Radio, Ethernet, and transmit-capable experiments. For simple receive-only listening, an RTL-SDR is easier.
No posts found
Write a review
We support all major card and digital payment options. More local methods are available and shown during checkout.
You enter into a binding sales contract once you have received an 'order confirmation and sales receipt' email from us, in line with our Sales & Delivery conditions. Therefore, sdrstore.eu has the right to cancel your order in the event of technical problems, delivery failure, Fair use policy and other similar situations.
Your payments are protected by advanced encryption and 3-D Secure authentication for safe online shopping.