





HackRF Pro Setup Guide: Firmware, Drivers, GNU Radio, SDR++, and First Signal
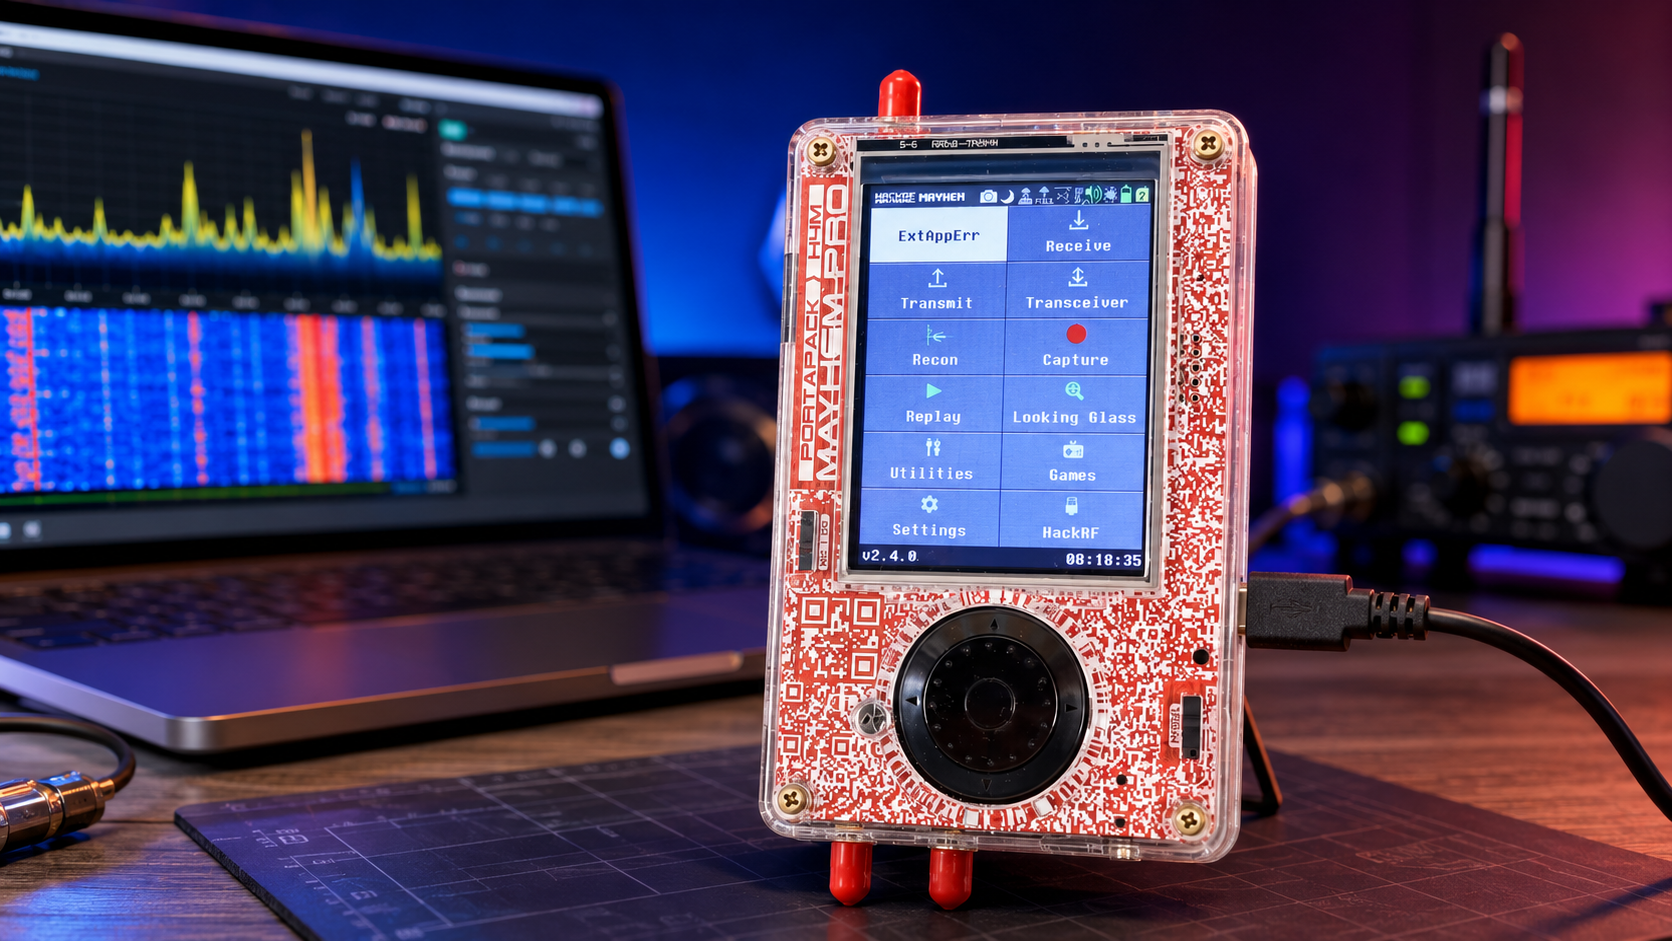
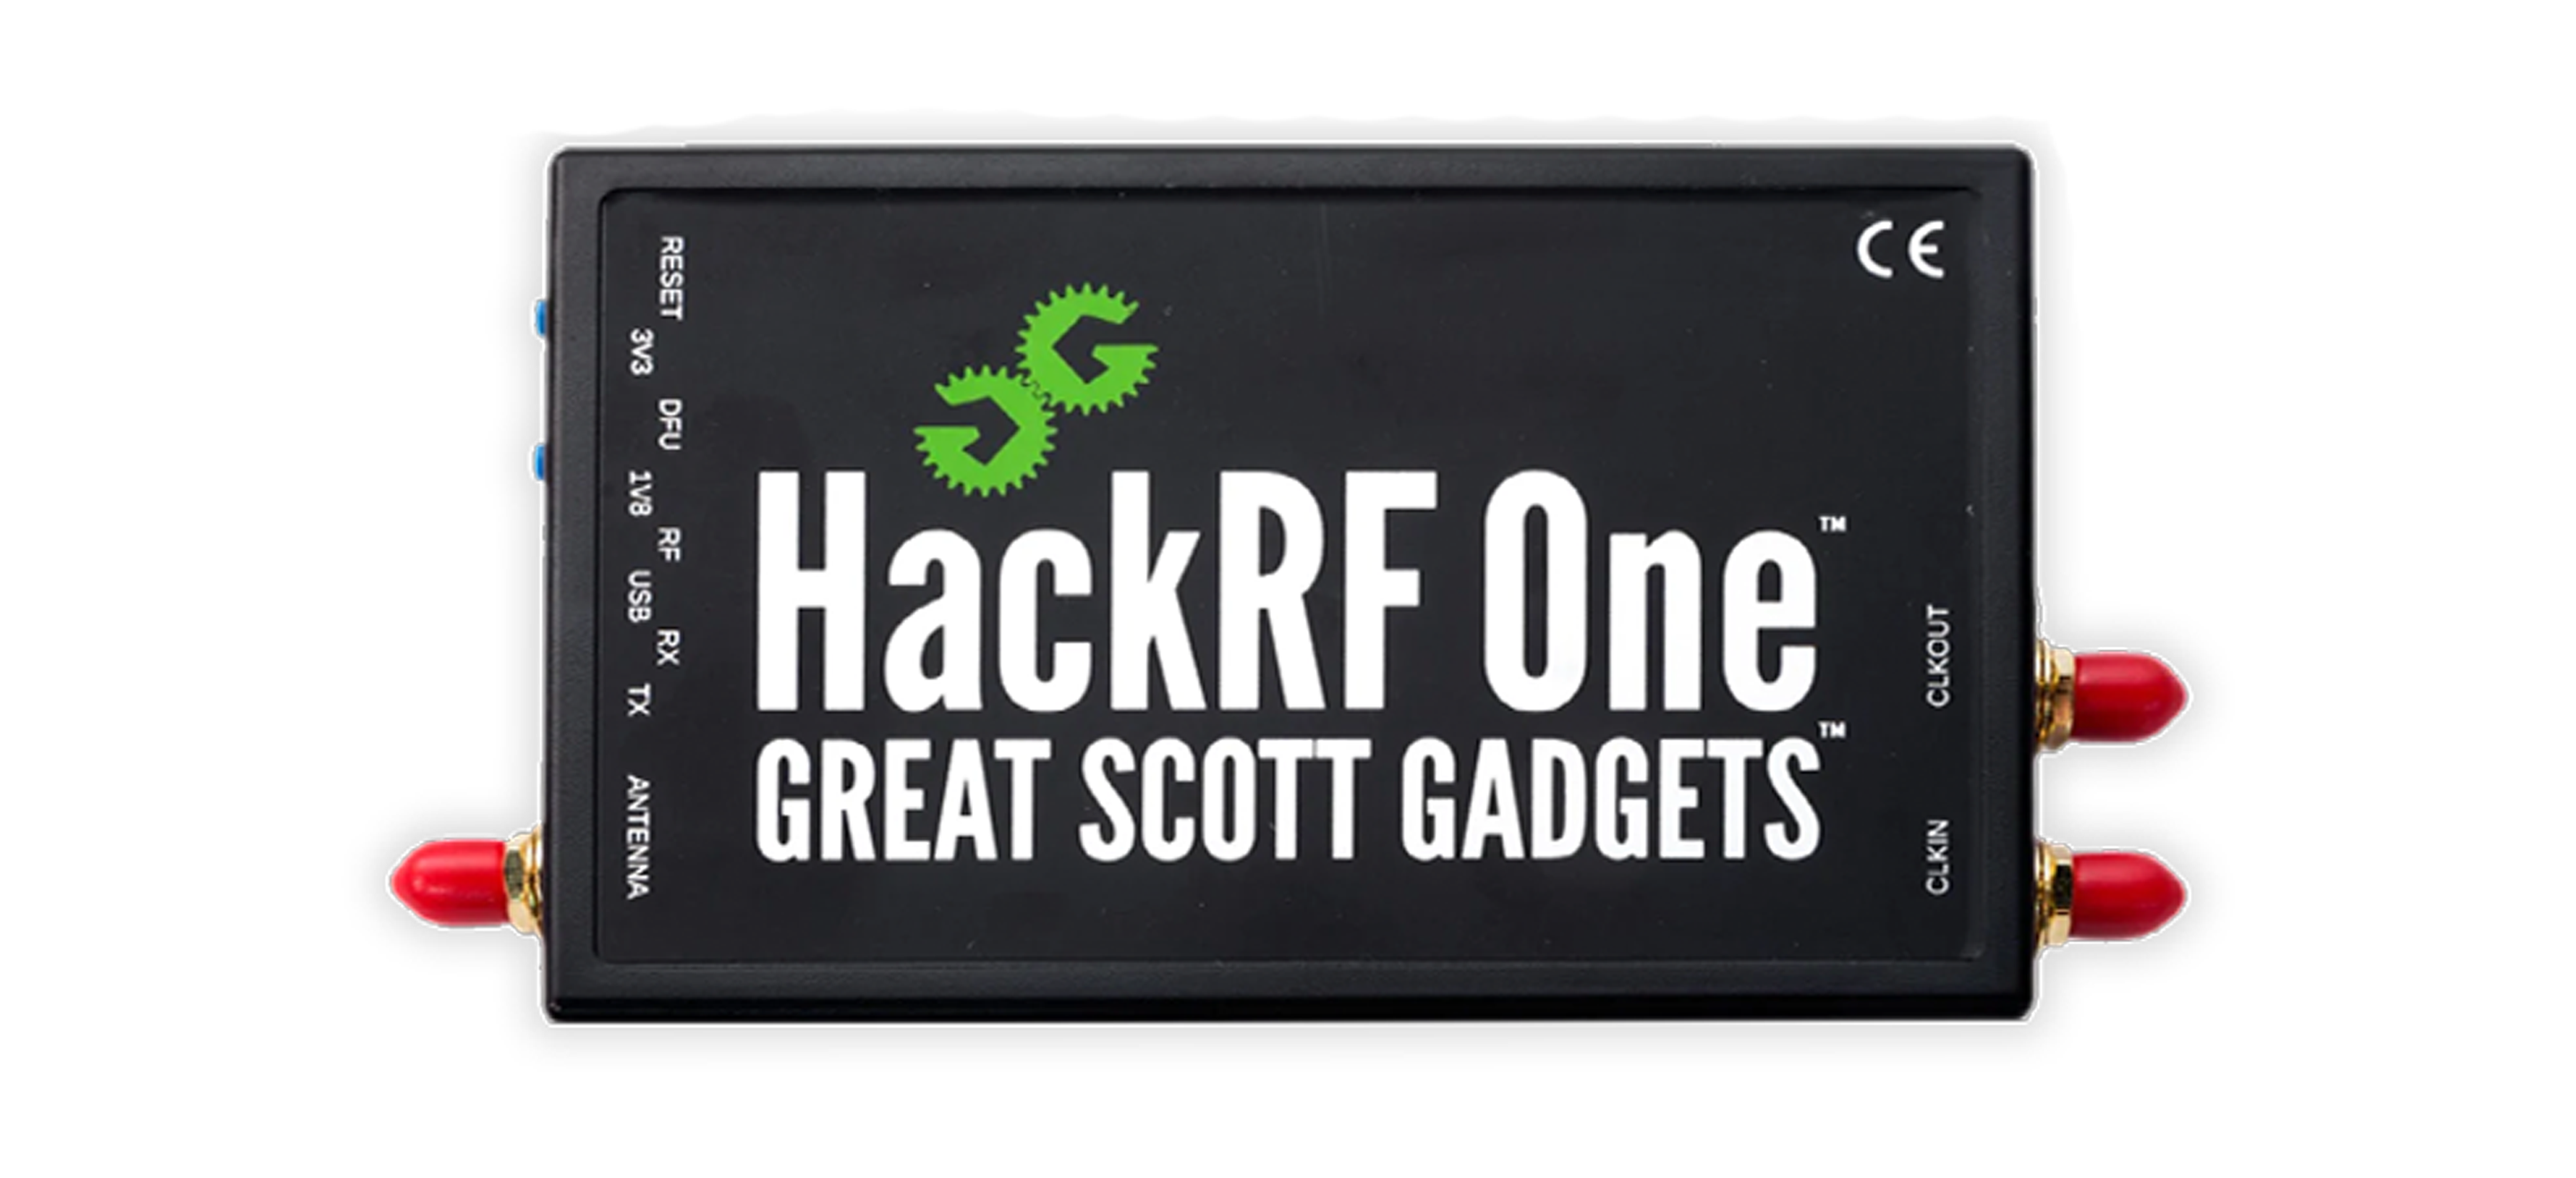
HackRF Pro is a wideband software-defined radio platform for receiving, transmitting, RF development, signal analysis, GNU Radio projects, wireless research, and controlled laboratory testing. It is the newer official HackRF platform and is designed to remain compatible with much of the software originally developed for HackRF One.
This HackRF Pro setup guide covers the complete first-use process: checking the hardware, installing HackRF Tools and drivers, verifying the device with hackrf_info, updating the firmware, configuring SDR++, building a basic GNU Radio flowgraph, tuning an FM broadcast station as the first receive-only signal, and solving common USB, firmware, gain, and software problems.
The safest first project is receive-only. Do not begin by transmitting. Learn how the device, software, sample rate, gains, antenna, and USB connection behave before building any controlled transmit workflow.
Browse the HackRF Pro Development Board, HackRF and PortaPack products, software-defined radio hardware, RF test and measurement equipment, and request a formal quote from SDRstore.eu.
Quick HackRF Pro Setup Checklist
- Connect a suitable antenna to the SMA RF port.
- Use a short, shielded USB-C data cable.
- Install HackRF Tools and libhackrf.
- Run
hackrf_infoto verify detection. - Compare the installed firmware and host-tool versions.
- Update to the current official firmware if needed.
- Install SDR++ for an easy first receive test.
- Select HackRF as the SDR++ source.
- Start at an 8 MHz sample rate.
- Use RF amplifier off, LNA/IF gain around 16 dB, and VGA/baseband gain around 16 dB.
- Tune a strong local FM broadcast station between 88 and 108 MHz.
- Install GNU Radio and create a simple receive flowgraph.
| Setup stage | Recommended tool | Expected result |
|---|---|---|
| Device detection | hackrf_info |
HackRF Pro model, serial number, firmware version, and hardware details appear. |
| Firmware update | hackrf_spiflash |
Current HackRF Pro firmware is written successfully. |
| First graphical test | SDR++ | Waterfall and spectrum become active. |
| First signal | FM broadcast station | A strong wide FM signal appears and audio can be demodulated. |
| Custom project | GNU Radio Companion | HackRF streams IQ samples into DSP blocks. |
HackRF Pro Specifications Relevant to Setup
| Feature | HackRF Pro | Why it matters during setup |
|---|---|---|
| Operating frequency | 100 kHz–6 GHz | Covers HF, VHF, UHF, Sub-GHz, GNSS, 2.4 GHz, 5.8 GHz, and many other bands. |
| Operation | Half-duplex | It transmits or receives, but not simultaneously. |
| Normal compatible sample format | 8-bit I and 8-bit Q | Maintains compatibility with established HackRF software. |
| Normal maximum sample rate | Up to 20 MSPS | Requires stable high-speed USB and sufficient host performance. |
| USB interface | High-Speed USB 2.0 through USB-C | The connector is USB-C, but streaming still uses USB 2.0 high-speed operation. |
| RF connector | SMA female | Use SMA male antennas, cables, or adapters. |
| Current initial hardware revision | r1.2.1 | Useful when checking product and firmware compatibility. |
HackRF Pro also introduces an FPGA, expanded memory, additional firmware possibilities, improved shielding, a built-in TCXO, improved RF protection, and additional operating modes. Software support for newer modes may vary, so beginners should first use the normal backward-compatible HackRF mode.
What You Need Before Starting
- HackRF Pro
- Short shielded USB-C data cable
- Windows, Linux, or macOS computer
- Antenna suitable for the frequency you want to receive
- HackRF Tools and libhackrf
- SDR++ for the easiest first graphical test
- GNU Radio for custom signal-processing projects
- Internet access for downloading official software
Recommended first antenna
For the first signal, use a basic telescopic or wideband antenna that covers the FM broadcast band. FM stations are strong, legal to receive in most locations, easy to identify, and suitable for confirming that the device, driver, waterfall, gain controls, and audio demodulator are working.
USB cable requirements
A USB-C cable that charges a phone is not automatically a good SDR cable. Some cables carry power but have poor data wiring, insufficient shielding, or unstable voltage under load.
Use a cable that is:
- Short
- Shielded
- Designed for data, not only charging
- Mechanically secure
- Preferably fitted with a ferrite core
If HackRF Pro powers on but is not detected, test another cable before changing drivers or firmware.
Step 1: Install HackRF Tools and Drivers
HackRF Tools provide command-line utilities used to identify the device, capture IQ data, run spectrum sweeps, manage clocks, and update firmware. The package also installs libhackrf, which lets applications communicate with HackRF hardware.
Windows installation
The official HackRF documentation recommends Radioconda for Windows users who want precompiled HackRF and GNU Radio software.
- Download Radioconda from its official GitHub release page.
- Install it using the default 64-bit environment unless you have a specific requirement.
- Open the Radioconda command prompt.
- Connect HackRF Pro directly to the computer.
- Run:
hackrf_infoIf the command displays the device, the USB driver, libhackrf, and HackRF Tools are working.
Important Windows driver note
Do not automatically replace the HackRF driver with Zadig simply because an older SDR tutorial tells you to. Zadig is commonly used for RTL-SDR devices, but HackRF Pro should first be tested with the driver and software installed through the official HackRF or Radioconda workflow.
Only change the USB driver when:
- The official package documentation instructs you to do so
- HackRF appears incorrectly in Device Manager
hackrf_infocannot access the device despite a known-good cable- You understand which driver is currently installed and which application requires the replacement
Ubuntu and Debian installation
sudo apt update
sudo apt install hackrf
Then verify:
hackrf_infoFor GNU Radio and common SDR integration packages:
sudo apt install gnuradio gr-osmosdr soapysdr-module-hackrfPackage names may differ between distributions and releases. If one package is unavailable, search the distribution repository for HackRF, SoapyHackRF, gr-osmosdr, or GNU Radio.
Fedora or Red Hat-based installation
sudo dnf install hackrf -yArch Linux installation
sudo pacman -S hackrfmacOS installation with Homebrew
brew install hackrfThen verify:
hackrf_infoBuilding HackRF Tools from source
Most users should install precompiled packages. Developers can build the host software from source:
git clone https://github.com/greatscottgadgets/hackrf.git
cd hackrf/host
mkdir build
cd build
cmake ..
make
sudo make install
sudo ldconfig
Building from source is useful for development, testing unreleased features, or supporting an operating system without an updated binary package. It introduces more dependency and version-management work than normal package installation.
Step 2: Verify HackRF Pro with hackrf_info
Connect HackRF Pro and run:
hackrf_infoA successful response should provide information such as:
- Board identification
- Firmware version
- Part ID
- Serial number
- Hardware revision
- Supported operating information
If more than one HackRF is connected
Record each serial number. SDR++, GNU Radio, and command-line tools can use serial numbers to select a particular device in multi-HackRF labs.
If no device is found
Check these points in order:
- Try another USB-C data cable.
- Try another USB port.
- Connect directly instead of through an unpowered hub.
- Check Device Manager or
lsusb. - Close SDR++ or other software that may already be using HackRF.
- Verify the installed libhackrf package.
- Check Linux USB permissions or udev rules.
- Restart the computer after driver installation.
Step 3: Check the Current Firmware Version
Run:
hackrf_infoCompare the reported firmware version with the latest official Great Scott Gadgets HackRF release.
As of July 20, 2026, the latest official release is:
v2026.01.3This release includes fixes relevant to HackRF Pro, including mixer frequency-lock improvements and access to the device’s larger SPI flash. Release v2026.01.2 also included important fixes for SDR++ tuning and occasional spectrum inversion after changing sample rate.
Why matching versions matter
HackRF firmware, libhackrf, and HackRF Tools communicate through a shared API. Using very old host tools with new firmware, or new host tools with old firmware, can cause:
- Device detection problems
- Tuning failures
- Incorrect feature availability
- Unexpected sample behavior
- SDR++ or GNU Radio instability
- Firmware update errors
When updating, update both the host tools and firmware from the same official release family.
Step 4: Update HackRF Pro Firmware
Download the latest official HackRF release package from:
Great Scott Gadgets HackRF releases
Extract the release archive and locate:
firmware-bin/hackrf_pro_usb.binOpen a terminal in that folder and run:
hackrf_spiflash -w hackrf_pro_usb.binOr include the full path:
hackrf_spiflash -w firmware-bin/hackrf_pro_usb.binWhen the write completes:
- Press the RESET button, or
- Disconnect and reconnect the USB cable.
Verify the result:
hackrf_infoDo not flash the HackRF One firmware
HackRF Pro uses:
hackrf_pro_usb.binHackRF One uses:
hackrf_one_usb.binAlways check the filename before flashing.
Do you need to update the CPLD?
No. HackRF Pro replaces the older CPLD architecture with an FPGA. Do not follow old HackRF One tutorials that tell you to run hackrf_cpldjtag against HackRF Pro.
Use the official HackRF Pro firmware and gateware instructions for the current release.
When should you use DFU mode?
DFU mode is normally only needed when:
- The SPI flash firmware is corrupted
- The normal device firmware does not start
hackrf_spiflashcannot communicate with the device- You are recovering development hardware
For normal updates, use hackrf_spiflash while HackRF Pro is operating normally.
HackRF Pro DFU recovery outline
- Disconnect HackRF Pro.
- Hold the DFU button.
- Connect power or press and release RESET while continuing to hold DFU.
- Release DFU.
- Load the matching
hackrf_pro_usb.dfuimage into RAM withdfu-util. - Use
hackrf_spiflashto write the matching.binimage permanently.
DFU recovery should be treated as a recovery procedure, not a standard first-use step.
Step 5: Install SDR++
SDR++ is one of the easiest programs for confirming that HackRF Pro can receive signals. It is cross-platform, open source, and provides a spectrum, waterfall, demodulators, audio output, recording, and multiple virtual receivers.
Download SDR++ from:
Windows installation
- Download the current Windows release or nightly build.
- Extract the complete archive into a normal folder.
- Do not move only
sdrpp.exe; keep its modules and DLL files together. - Connect HackRF Pro.
- Start
sdrpp.exe.
Linux installation
Use the official SDR++ package for your distribution when possible. On Debian or Ubuntu, download the current official .deb package and install it:
sudo apt install ./sdrpp_debian_amd64.debInstall the HackRF system driver separately:
sudo apt install hackrf soapysdr-module-hackrfSelect HackRF Pro in SDR++
- Open the Source panel.
- Select
HackRForHackRF Source. - Press Refresh if the device was connected after SDR++ started.
- Select the detected HackRF Pro or its serial number.
- Set the sample rate to 8 MSPS for the first test.
- Press Play.
Use the dedicated HackRF source module when it is available. Use the generic SoapySDR source only when your installation or workflow specifically requires SoapySDR.
Recommended SDR++ First-Use Settings
| Setting | Starting value | Reason |
|---|---|---|
| Sample rate | 8 MSPS | Official HackRF guidance discourages sampling below 8 MHz. |
| RF amplifier | Off | Prevents unnecessary overload during initial testing. |
| LNA / IF gain | 16 dB | Useful moderate starting gain. |
| VGA / baseband gain | 16 dB | Useful moderate starting gain. |
| Frequency | Strong local FM station | Easy first receive target. |
| Demodulator | WFM | Correct mode for normal FM broadcast audio. |
| Receiver bandwidth | Approximately 180–250 kHz | Wide enough for an FM broadcast channel. |
Step 6: Receive Your First Signal in SDR++
Use an FM broadcast station
- Connect an antenna that covers 88–108 MHz.
- Start SDR++.
- Select HackRF as the source.
- Set the sample rate to 8 MSPS.
- Press Play.
- Tune between 88 and 108 MHz.
- Look for a strong, wide signal.
- Click the signal.
- Select WFM demodulation.
- Set the receiver bandwidth around 180–250 kHz.
- Increase or decrease LNA and VGA gain gradually.
What a successful result looks like
- The waterfall scrolls continuously.
- The noise floor responds when gain changes.
- Strong FM stations appear as wide blocks.
- Audio is clear after selecting WFM.
- Moving or extending the antenna changes signal level.
If you see no signal
- Confirm the Play button is active.
- Confirm HackRF is selected as the source.
- Press Refresh in the source panel.
- Check that the antenna is attached to the RF port.
- Try LNA 24 dB and VGA 24 dB.
- Keep the RF amplifier off initially.
- Try a known strong local station.
- Try another USB cable or port.
- Run
hackrf_infoafter closing SDR++.
Understanding HackRF Pro Gain Controls
HackRF software commonly exposes three receive gain controls:
- RF amplifier: off or on
- LNA or IF gain
- VGA or baseband gain
A good initial configuration is:
RF amplifier: off
LNA / IF: 16 dB
VGA / baseband: 16 dB
If the signal is too weak
- Increase LNA gain gradually.
- Increase VGA gain gradually.
- Keep the two gains reasonably balanced.
- Enable the RF amplifier only if additional gain is genuinely needed.
If the spectrum looks overloaded
Possible overload symptoms include:
- Many false peaks appearing when gain increases
- The complete noise floor rising dramatically
- Strong signals appearing mirrored or repeated
- Audio becoming distorted
- Signals appearing where none should exist
Reduce gain and leave the RF amplifier disabled. Strong local FM, cellular, paging, broadcast, or other transmitters can overload a wideband SDR even when you are tuned somewhere else.
Why an 8 MHz Sample Rate Is Recommended
Older beginner tutorials sometimes configure HackRF at 2 MSPS because that is common with RTL-SDR. That is not the preferred HackRF configuration.
The official HackRF guidance recommends a sample rate of at least 8 MHz because:
- The ADC/DAC is not specified for operation below 8 MHz.
- The analog baseband filter cannot become narrow enough to prevent substantial aliasing at very low rates.
- Adjacent signals may fold into the visible spectrum.
If a GNU Radio project only needs 1 or 2 MHz of useful bandwidth, receive at 8 MSPS and decimate in software with a suitable low-pass filter.
Step 7: Install GNU Radio
GNU Radio is the best option when you want to build custom receivers, signal-processing experiments, modulation chains, spectrum tools, logging systems, and controlled transmit workflows.
Official resources:
Ubuntu or Debian
sudo apt update
sudo apt install gnuradio hackrf gr-osmosdr soapysdr-module-hackrf
Windows
Radioconda is one of the easiest ways to install GNU Radio, HackRF Tools, SoapySDR, and related dependencies in one managed environment.
After installation, launch GNU Radio Companion from the Radioconda environment.
macOS
Install GNU Radio using a supported package manager or Conda environment. Keep the HackRF driver and GNU Radio environment compatible.
Step 8: Build a Basic GNU Radio HackRF Flowgraph
The simplest first GNU Radio flowgraph displays the received spectrum without attempting audio demodulation.
Add these variables
samp_rate = 8e6
center_freq = 100e6
Replace 100e6 with a strong local FM broadcast frequency.
Add these blocks
- Soapy HackRF Source
- QT GUI Frequency Sink
- QT GUI Waterfall Sink
Configure Soapy HackRF Source
| Parameter | Starting value |
|---|---|
| Sample rate | samp_rate |
| Center frequency | center_freq |
| Bandwidth | Auto or suitable value |
| RF amplifier | Off |
| LNA / IF gain | 16 |
| VGA / baseband gain | 16 |
Connect the HackRF source output to both GUI sinks.
Do not add a Throttle block
When GNU Radio is connected to real SDR hardware, the hardware source controls the data rate. A Throttle block is generally intended for simulation flowgraphs without a hardware source or sink.
Run the flowgraph
A successful flowgraph should display:
- Live spectrum
- Scrolling waterfall
- FM broadcast peaks
- Noise-floor movement when gain changes
Using Osmocom Source Instead
Some GNU Radio installations use the Osmocom Source block instead of the built-in Soapy HackRF Source.
A common device argument is:
hackrf=0For a specific serial number:
hackrf=SERIAL_NUMBERUse either Soapy HackRF Source or Osmocom Source. Do not place both in the same flowgraph for the same device.
GNU Radio FM Broadcast Receiver Outline
After confirming the spectrum flowgraph works, you can build an FM receiver using:
- Soapy HackRF Source
- Frequency Xlating FIR Filter or channel filter
- Low-pass filter and decimation
- WBFM Receive block
- Rational Resampler
- Audio Sink
- QT GUI Frequency and Waterfall sinks
Example rate plan
- HackRF source: 8 MHz
- Channel filter output: 250 kHz
- WBFM demodulated audio: 50 kHz
- Resampled audio: 48 kHz
This keeps HackRF at the recommended 8 MHz hardware sample rate while reducing the processing rate inside GNU Radio.
Useful HackRF Command-Line Tests
Display device information
hackrf_infoRun a sweep across the FM broadcast band
hackrf_sweep -f 88:108Run a sweep across the 2.4 GHz ISM band
hackrf_sweep -f 2400:2490Capture IQ samples
hackrf_transfer -r capture.iq -f 100000000 -s 8000000 -l 16 -g 16This example records signed 8-bit interleaved I/Q samples around 100 MHz at 8 MSPS. Captures can become very large quickly.
Stop a continuous capture
Press:
Ctrl+CImportant storage calculation
Normal HackRF 8-bit I/Q data uses approximately two bytes per complex sample. At 8 MSPS, the raw data rate is approximately 16 MB per second before filesystem and metadata overhead.
| Capture time | Approximate raw file size at 8 MSPS |
|---|---|
| 10 seconds | 160 MB |
| 1 minute | 960 MB |
| 10 minutes | 9.6 GB |
SDR++ vs GNU Radio for HackRF Pro
| Task | SDR++ | GNU Radio |
|---|---|---|
| First device test | Excellent | More setup required |
| FM listening | Easy | Requires a flowgraph |
| Spectrum browsing | Excellent | Good with GUI sinks |
| Custom DSP | Limited | Excellent |
| Custom modulation | Limited | Excellent |
| Automated experiments | Limited | Excellent |
| Learning signal processing | Basic | Excellent |
Use SDR++ to confirm the hardware works. Move to GNU Radio when you need custom processing, experiments, automation, or research.
Common HackRF Pro Problems and Fixes
HackRF Pro is not detected
Try:
- A different USB-C data cable
- A shorter shielded cable
- A different USB port
- A direct motherboard port
- A powered USB hub if the host cannot provide stable power
- Closing all other SDR applications
- Restarting after installing drivers
- Running
hackrf_infooutside SDR++
hackrf_info reports HACKRF_ERROR_NOT_FOUND
Likely causes include:
- USB permissions on Linux
- Missing or incorrect Windows USB driver
- Another application already using the device
- Bad cable
- Firmware recovery required
On Linux, temporarily running sudo hackrf_info can help confirm that the issue is permissions. Fix udev rules instead of using HackRF software permanently as root.
SDR++ does not list HackRF
- Confirm
hackrf_infoworks first. - Use the current SDR++ release or nightly build.
- Check that the HackRF source module exists in the modules folder.
- Press Refresh after connecting the device.
- Close GNU Radio or any other application using HackRF.
- Update HackRF Tools and firmware to matching versions.
Intermittent SDR++ tuning failure
Update to HackRF release v2026.01.2 or newer. The current v2026.01.3 release includes the earlier SDR++ tuning fix plus additional HackRF Pro improvements.
Spectrum is inverted after changing sample rate
This was addressed in the v2026.01.2 firmware release. Update the firmware and ensure libhackrf and HackRF Tools are from a compatible current release.
USB errors or dropped samples
- Use 8 MSPS rather than starting at 20 MSPS.
- Try a different USB controller or port.
- Disconnect other high-bandwidth USB devices.
- Use a shorter cable.
- Close heavy applications.
- Reduce GUI FFT update rate.
- Use software decimation after the HackRF source.
- Avoid virtual machines for high-rate streaming where possible.
Strong center-frequency artifact
If you see an unwanted feature exactly at the center frequency:
- Tune the hardware several hundred kilohertz away from the wanted signal.
- Move the demodulator or use frequency translation to select the signal.
- Confirm that the feature remains fixed at the display center when tuning.
- Update firmware and software.
A signal that always follows the exact center of the display is likely an internal artifact rather than an external transmission.
Too many signals appear when gain is increased
The receiver is probably overloaded. Disable the RF amplifier and reduce LNA and VGA gain. A real weak signal should usually improve relative to the noise, while overload creates additional false products.
FM audio is distorted
- Select WFM rather than NFM.
- Increase demodulator bandwidth.
- Center the station correctly.
- Reduce RF gain if the receiver is overloaded.
- Check audio output sample rate and device.
Noise appears around 120–480 MHz
USB cables and host computers can generate RF interference in this range. Use a short shielded cable with a ferrite core, move HackRF away from the computer, and compare results with a laptop running on battery.
HackRF works in one program but not another
Possible causes include:
- One program is still holding the device
- Different libhackrf versions are installed
- One program uses a dedicated HackRF module and another uses SoapySDR
- 32-bit and 64-bit library mismatch
- Old firmware
- Missing source module
Should You Enable Antenna Port Power?
HackRF Pro can provide controlled power through the RF port for compatible active accessories. Do not enable this option unless the connected antenna, LNA, or accessory is designed for it.
Incorrect antenna-port power can:
- Damage passive equipment
- Damage incompatible active devices
- Apply voltage to test equipment inputs
- Create misleading results
Use a DC block when connecting HackRF to equipment that must not receive DC.
Safe Transmit Testing
HackRF Pro can transmit, but the first setup should remain receive-only. Before transmitting, understand:
- Frequency authorization
- Output power
- Harmonics and filtering
- Receiver input limits
- Attenuator values
- Dummy-load power rating
- Shield-box leakage
- Local radio regulations
Recommended controlled transmit path
A safe laboratory concept is:
HackRF Pro TX
→ fixed attenuator
→ additional variable attenuator
→ DC block if required
→ receiver or spectrum analyzer
For tests that do not require a second receiver:
HackRF Pro TX
→ rated dummy load
Do not connect HackRF Pro TX directly to another SDR input. Even modest transmit power may overload or damage a sensitive receiver.
Recommended Accessories
For basic receiving
- Wideband telescopic antenna
- Band-specific antenna
- Short shielded USB-C cable
- SMA adapter kit
For RF troubleshooting
- TinySA Ultra
- NanoVNA-H4
- Band-pass or notch filters
- Known-good coax cables
- Directional antennas
For controlled transmit testing
- 50-ohm dummy loads
- Fixed attenuator set
- Variable attenuator
- RF power meter
- DC blocks
- Shield box
- Band-specific filters
Recommended HackRF Pro Setup Packages
Package 1: Beginner receiving setup
- HackRF Pro
- Wideband antenna
- Short USB-C data cable
- SDR++
- GNU Radio
Best for: first signals, FM broadcast, VHF/UHF monitoring, spectrum learning, and GNU Radio basics.
Package 2: RF development setup
- HackRF Pro
- Band-specific antennas
- RTL-SDR as a second receive monitor
- TinySA Ultra
- NanoVNA-H4
- Attenuators and dummy loads
- GNU Radio and SDR++
Best for: custom flowgraphs, RF product prototyping, signal validation, and controlled laboratory experiments.
Package 3: University GNU Radio lab
- Multiple HackRF Pro devices
- Multiple RTL-SDR receive-only devices
- Shared TinySA Ultra and NanoVNA-H4 instruments
- Attenuated cabled RF paths
- Dummy loads
- Shield boxes
- Prepared GNU Radio flowgraphs
- Firmware and serial-number inventory
Best for: RF fundamentals, digital signal processing, software-defined radio, controlled waveform generation, and cybersecurity training.
Package 4: RF product-testing bench
- HackRF Pro
- Professional or handheld spectrum analyzer
- NanoVNA or higher-grade VNA
- RF power meter
- Signal generator
- Attenuator chain
- Dummy loads
- Near-field probes
- Shielded enclosure
Best for: IoT products, LoRa devices, Sub-GHz modules, SDR prototypes, receiver testing, and pre-compliance preparation.
Purchase-Order Justification Examples
HackRF Pro development justification
HackRF Pro is required as a wideband software-defined radio platform for GNU Radio development, RF signal analysis, controlled transmit and receive experiments, spectrum monitoring, RF education, and wireless product prototyping.
GNU Radio laboratory justification
HackRF Pro and GNU Radio are required to create repeatable software-defined radio laboratory exercises covering IQ sampling, digital signal processing, filtering, demodulation, spectrum analysis, and controlled waveform development.
RF test accessory justification
Attenuators, dummy loads, RF power meters, DC blocks, filters, and shield boxes are required to protect HackRF Pro and connected receivers, prevent overload, control test-signal levels, and maintain safe laboratory RF paths.
NanoVNA and TinySA justification
NanoVNA-H4 and TinySA Ultra are required to complement HackRF Pro by measuring antenna matching, filters, coax loss, live RF spectrum activity, interference, and basic signal behavior.
Request a Quote for HackRF Pro and SDR Lab Equipment
Universities, companies, RF laboratories, cybersecurity teams, IoT developers, telecom researchers, ham radio clubs, and public-sector buyers can request a formal quotation directly from SDRstore.eu.
Use the Add to Quote button on product pages or the document icon on product cards. Add HackRF Pro, antennas, RTL-SDR receivers, TinySA Ultra, NanoVNA-H4, RF power meters, dummy loads, attenuators, filters, shield boxes, cables, adapters, and project requirements to one quote request.
A quote request is useful when you need:
- HackRF Pro development boards
- GNU Radio student or research labs
- RF cybersecurity training benches
- RF product-testing equipment
- Controlled transmit and receive accessories
- Antennas and filters for specific bands
- Formal procurement pricing
Read the SDRstore.eu quote-request guide.
Related SDRstore.eu Guides
- HackRF Pro vs PortaPack H4M: Which One Should You Buy?
- Best SDR for GNU Radio Projects
- RTL-SDR, HackRF, PlutoSDR, bladeRF, and USRP for GNU Radio
- Best SDR Software
- HackRF vs RTL-SDR
- RF Cyber Range Hardware
- SDR Hardware for RF Product Testing
- What Is a Spectrum Analyzer?
- What Is a Signal Generator?
- How to Test RF Filters with a NanoVNA
- How to Test Coax Cable Loss with a NanoVNA
Official Resources
- Great Scott Gadgets HackRF Pro
- Official HackRF Pro documentation
- Installing HackRF software
- Updating HackRF firmware
- HackRF Tools documentation
- Official HackRF releases
- SDR++ official website
- GNU Radio official website
- GNU Radio Soapy HackRF Source
Final Recommendation
Start by installing current HackRF Tools, confirming detection with hackrf_info, and making sure firmware and host tools are compatible. As of July 20, 2026, the current official HackRF release is v2026.01.3.
Use SDR++ for the fastest first receive test. Configure HackRF Pro at 8 MSPS, leave the RF amplifier off, begin with approximately 16 dB LNA and 16 dB VGA gain, and tune a strong local FM broadcast station.
After confirming SDR++ works, install GNU Radio and create a basic Soapy HackRF Source flowgraph with frequency and waterfall displays. Keep the hardware source at 8 MSPS or higher and decimate inside the flowgraph when narrower bandwidth is needed.
Do not begin with over-the-air transmission. Learn receive mode first, then build transmit tests with attenuators, dummy loads, RF power measurement, shielding, and clear legal authorization.
FAQ
What firmware should HackRF Pro use?
Use the current official Great Scott Gadgets HackRF release and keep the firmware, libhackrf, and HackRF Tools versions compatible. As of July 20, 2026, the latest official release is v2026.01.3.
How do I check the HackRF Pro firmware version?
Connect the device and run hackrf_info. The output should display the board type, firmware version, serial number, and other device information.
How do I update HackRF Pro firmware?
Download the current official HackRF release, locate hackrf_pro_usb.bin, and run hackrf_spiflash -w hackrf_pro_usb.bin. Reset or reconnect the device afterward.
Does HackRF Pro need a CPLD update?
No. HackRF Pro uses an FPGA instead of the HackRF One CPLD architecture. Do not use old HackRF One CPLD update commands on HackRF Pro.
What driver does HackRF Pro need on Windows?
The official HackRF documentation recommends installing the required Windows binaries through Radioconda. Verify the installation with hackrf_info before attempting manual USB driver replacement.
Can HackRF Pro work with SDR++?
Yes. Install current HackRF Tools and firmware, install SDR++, choose HackRF as the source, refresh the device list, select HackRF Pro, and start at an 8 MHz sample rate.
Can HackRF Pro work with GNU Radio?
Yes. GNU Radio can control HackRF through the Soapy HackRF Source and Sink blocks or through gr-osmosdr. Use a hardware source rate of at least 8 MHz and decimate in software where needed.
What gain should I use with HackRF Pro?
A useful starting point is RF amplifier off, LNA or IF gain around 16 dB, and VGA or baseband gain around 16 dB. Increase gains gradually and reduce them if false signals or overload appear.
Why is my HackRF Pro not detected?
The most common causes are a charge-only or poor USB cable, insufficient USB power, incorrect drivers, Linux permissions, another application using the device, or mismatched firmware and host tools.
What should my first HackRF Pro signal be?
A strong local FM broadcast station between 88 and 108 MHz is a good first signal. Use an appropriate antenna, an 8 MHz sample rate, WFM demodulation, and moderate gain.
Should I use a 2 MHz sample rate with HackRF Pro?
It is not recommended. Use at least 8 MHz at the hardware source and apply filtering and decimation in SDR software or GNU Radio if you need a narrower final bandwidth.
Can SDRstore.eu quote a complete HackRF Pro setup?
Yes. Use the Add to Quote button on product pages or the document icon on product cards. Add HackRF Pro, antennas, TinySA Ultra, NanoVNA-H4, RF power meters, dummy loads, attenuators, filters, cables, adapters, and project notes so the complete setup can be quoted together.
No posts found
Write a review






We support all major card and digital payment options. More local methods are available and shown during checkout.
You enter into a binding sales contract once you have received an 'order confirmation and sales receipt' email from us, in line with our Sales & Delivery conditions. Therefore, sdrstore.eu has the right to cancel your order in the event of technical problems, delivery failure, Fair use policy and other similar situations.






Your payments are protected by advanced encryption and 3-D Secure authentication for safe online shopping.